Hi!
Today I am sharing a design team card over at the
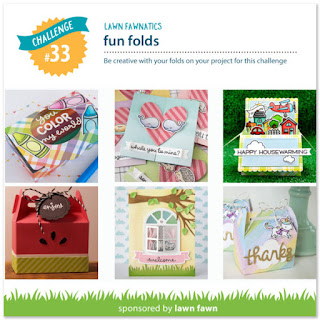
Back To Basics and Beyond Challenge for this week's "Off The Edge" theme! Head on over to the BBB Challenge site to see all of the wonderful examples that the designers have created! This card was inspired by a great video I saw on YouTube recently by
Carissa Wiley at "Sprinkled With Glitter". If you have never seen Carissa's videos, you are really missing out...she is a great teacher with wonderful ideas and an infectious laugh - she makes me smile during every single episode! My card ended up totally different from hers but I wanted to give her credit for steering me in the right direction.
I started by creating my own 'mermaid-tail scallop' pattern in the Cricut Design Space and cut a stencil from an acetate presentation cover page. I find that this weight of acetate really works well while cutting my own stencils (with the fine cutting blade) and yet they are still sturdy enough to hold up over and over again with ink blending. I used Distress Oxide Inks (Twisted Citron, Peeled Paint & Lucky Clover) and blended the mermaid scallop pattern onto a piece of 4.25" x 5.5" 110# Neenah Solar White card stock. I sprayed the card stock with water and shimmer spray and flecked it with an assortment of pearlized watercolors. Once the panel was dry, I used Sunny Studio's
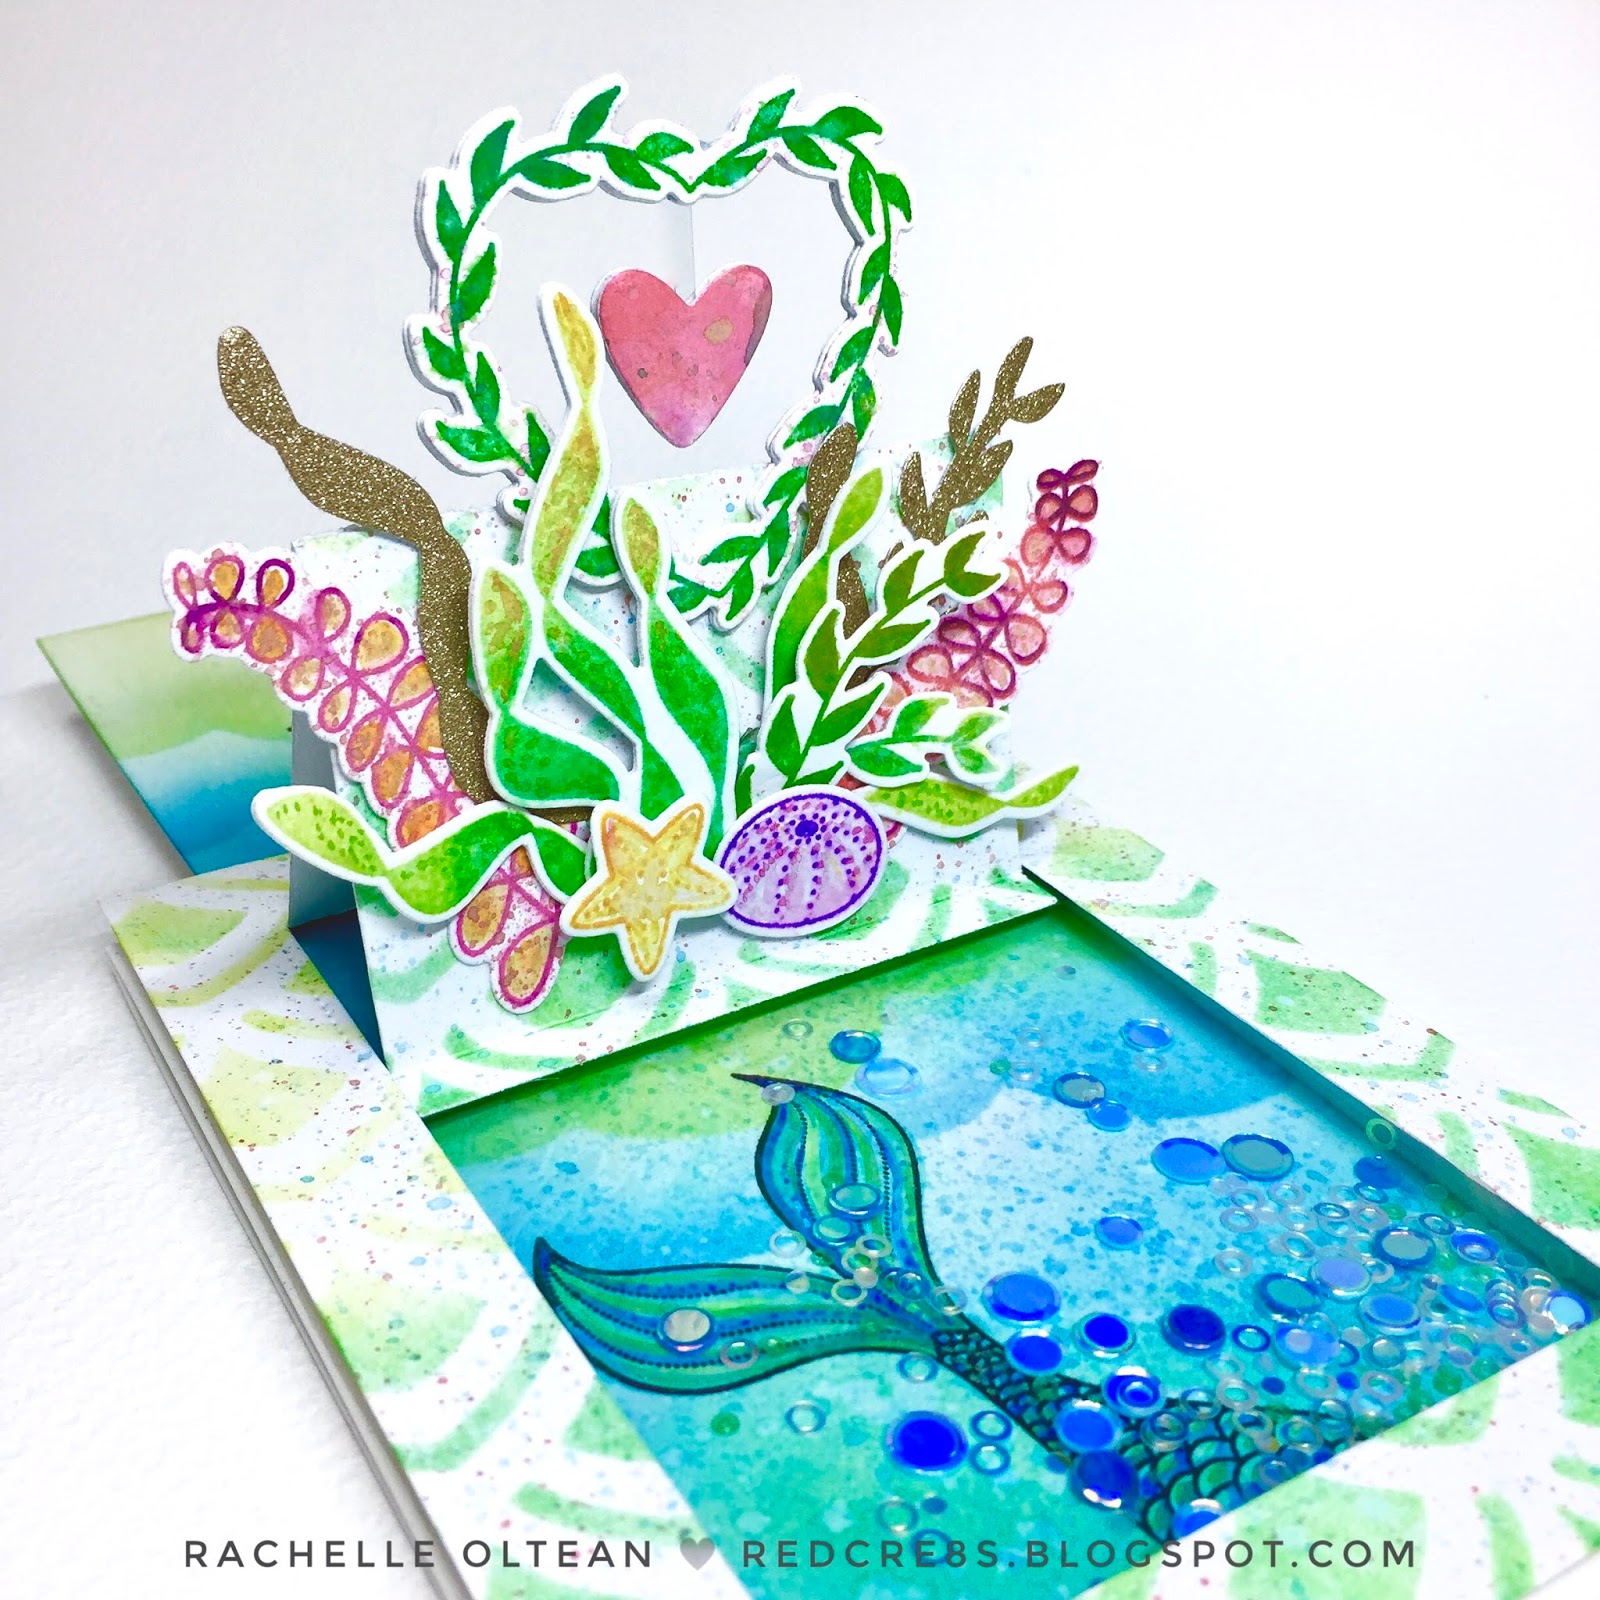
"Sliding Window Pop-Up Die" to cut the interactive mechanism. The pull-tab panel was cut to size (4 7/8" x 3 1/4") from the same card stock. Using a stencil, waves/water were ink-blended onto the panel and the front of an A-2 top-folding card base using the same ink colors, adding Salty Ocean; everything was spritzed with shimmer spray and spattered with diluted inks. I lightly traced the pop-up opening onto the card front so that I would know where to stamp the mermaid tail from
Julie Ebersole's "Inner Mermaid" Stamp Set. Once stamped with VersaFine Onyx Black Ink, I colored it with the oxide inks.
To create the shaker base, I used a double thickness of foam tape to make a frame, coated the edges with my anti-static powder tool, filled the middle with sequins/confetti, peeled off the release paper and topped the foam tape with a piece of heavy acetate. I then stamped the sentiment onto the back slider panel and attached some inked die-cut circles to the top, which gives the recipient an easy pull tab and fits flush at the top of card when fully closed. This panel was then adhered to the very bottom of the front panel with heavy-duty two-sided tape. You need to use really strong adhesive here because this is the pressure point for the pull tab slider.

I knew that I wanted the seaweed vine wreath to stick above the pop-up fold with a heart dangling down in the center on a sliver of acetate. Beyond that, I was a little unsure of exactly how the ocean foliage/shells were going to be arranged. I glued the wreath down first (with the heart hanging down after sandwiching it between multiple die cuts) then I simply stamped/die cut a bunch of kelp, seagrass images and started playing with the design. When I got close to what I wanted, I took a picture so that I could recreate it from the bottom up! I added some die cuts of matte gold glitter paper to give it a bit more neutral shimmer and was really pleased with this "bouquet"-look at the bottom of the slider. I used Distress Ink for all of the stamping and softened all of the edges with water and shimmer spatters; this created a slightly blurry, underwater-look.

I have used this slider pop-up die several times on other cards and have learned that I prefer to give the slider a bit of room to operate and so I added another layer of double-sided foam tape behind the front panel (being sure not to get too close to the slider - but adding sufficient tape to give it enough support.) The front was then adhered on top of the shaker element.
Even with using the 110# Neenah card stock as the card base, I felt like this card was so top/front-heavy that I needed to add another piece of cardstock to the back panel to reinforce it a bit. I created another 4.25" x 5.5" stenciled background, stamped the interior sentiment, die cut it and glued it to the back panel.
I have entered this card into the following challenges:
Thanks so much for joining me today!
Rachelle ♥