Showing posts with label Wedding. Show all posts

Saturday, May 29, 2021

Wedding Card | Angie Blom Digital Designs - "To The Wedding Couple"


Hello!

It's wedding season and here is my first card featuring Angie Blom's "To The Wedding Couple" digital stamp set! Angie's digi sets are so versatile and I love how she offers pre-designed layouts so that all you have to do is print out an A2 page and you're ready to go with 4 separate A2 card fronts! However, for this layout, I did combine a couple of images in my own way to create this A7 (5x7) sized card.


I printed the digi image onto watercolor paper, painted it and added a stenciled background using Distress Oxide Inks. The entire panel was sprayed with pearl shimmer mist and heavily spattered with diluted inks/metallic paint. Once dry, the panel was trimmed to 4.75" x 6.75" and the heat embossed vellum sentiment was attached in place. All that was left was to layer the image panel onto gold metallic card stock and then attach it to the cream card base. I added pink and gold sequins to finish the design!

Thanks so much for stopping by today and I hope you have a great holiday weekend!

Challenges:


Take care and stay safe!
Rachelle ♥

Monday, June 15, 2020

Wedding Card | Sparkles Monthly Challenge - "Wedding" | Ellen Hutson - Hands Dies by Julie Ebersole

Hello Everyone!

We've got a very timely new challenge over on the Sparkles Monthly Blog..."Wedding!" and I decided to go with a pretty bride-focused design using one of my favorite die sets from Ellen Hutson,  Julie Ebersole's "Hands"! This versatile set features two pairs of hands-only dies and this well-manicured gal is just about to toss her wedding bouquet!

I scored a piece of rosy pink card stock every 1/2", trimmed that panel to size and cut out a center frame with a large stitched heart die. I also die cut a piece of heavy white card stock in the same way, glued these pieces together and backed this framed panel with a piece of craft foam. A piece of dark rose card stock was also glued to the front of a 6"x6" square card base.

The bouquet was watercolored and fussy cut to fit the smaller hand die. I made the scalloped edge sleeve by trimming a piece of die cut white card stock down to cover the arm underneath and added small pearls to the cuff. I painted the fingernails with pink pearlized watercolor, added a gem for the ring and adhered the dress sleeve to the arm/hand.


I glued the bouquet to the hand, added several layers of foam tape under both and adhered this to the dark rose base; the scored top panel was glued on top. The embossed sentiment strip was attached with foam tape and an assortment of pink sequins finished the design. There is so much depth created with this fairly simple imagery and it's so pretty for a contemporary bride! We can't wait to see your wedding-themed projects in our Sparkles Monthly Gallery!

Thanks so much for joining me and I really appreciate all of your comments!

Additional Challenges:


Rachelle ♥

Sunday, July 28, 2019

Wedding Card | MFT Stamps - Birds of a Feather DieNamics


Hi!

My niece is getting married next weekend and this card is for her! I can't wait to see my side of the family and celebrate this very happy occasion! 

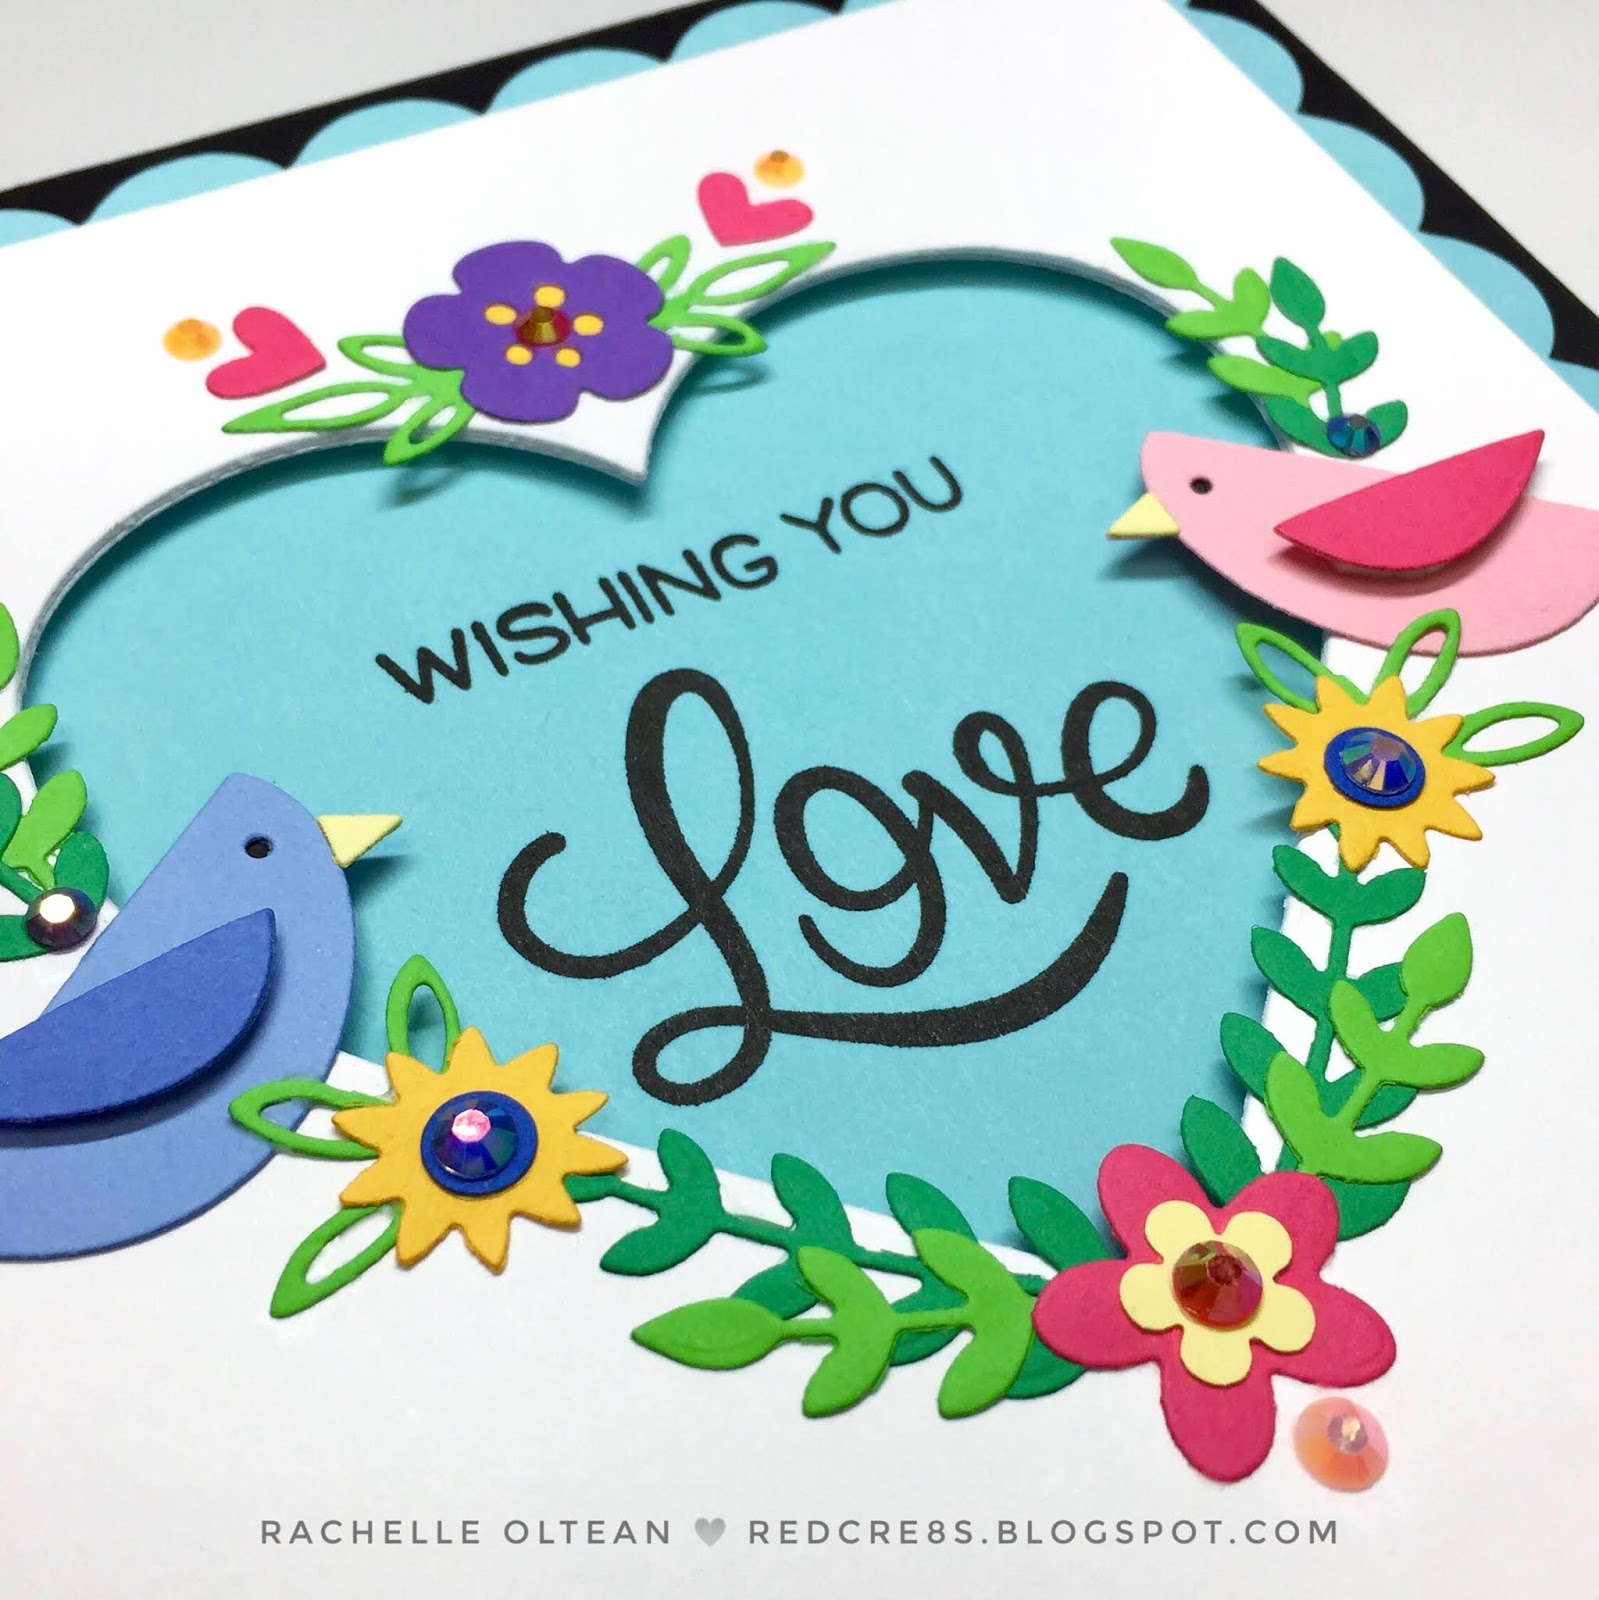
This is a 6" square card and I started with black cardstock cut to that size; a piece of light turquoise card stock was die cut using the Cricut and adhered to the center to create my base. I then die cut the largest size of  MFT's Stitched Heart DieNamics onto 3 pieces of 110# white card stock measuring 5.25" square. I wanted this white panel to be very sturdy so I glued them all together with strong liquid adhesive and set it aside to dry inside a heavy book. I then chose my colored cardstock and die cut multiples of all of the Birds of a Feather DieNamics images. I knew that I wanted a simple, symmetrical "folk art" feel to this design so I started to layout the pieces around one of the die cut hearts. Once I had a layout I liked, I took a photo, and recreated it on the actual die cut panel. I like to use Multi Matte Medium when gluing down all of these small bits because it dries clear and you don't need to add a lot for it to stay in place. I also added an assortment of small rainbow jewels in coordinating colors from Lucy's Little Things to give it a bit of sparkle.
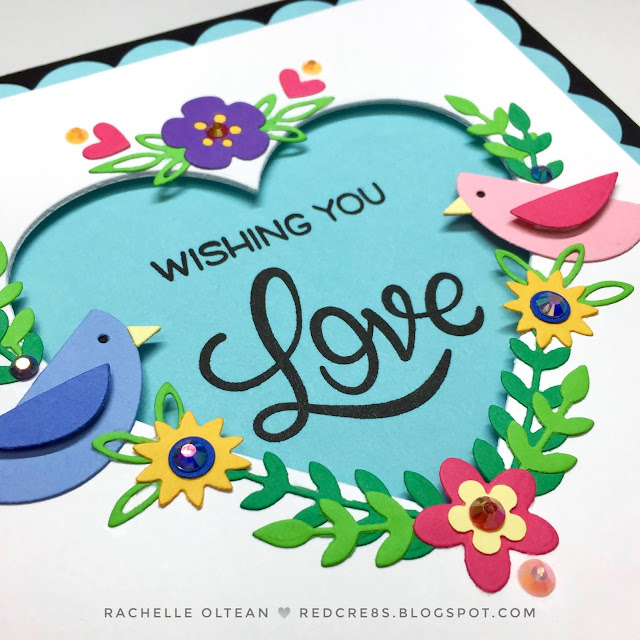

I backed the white panel with craft foam and centered it onto the black/turquoise base. I then placed the clear sentiment stamps in the correct place, gently removed the white panel and used the MISTI to complete the stamping with VersaFine Ink; the white base was then adhered on top. I cut a 6" x 12" piece of heavy-weight white card stock, scored it in the middle and glued the entire card front onto the card base.

I really like the clean symmetry of this card!


Thanks so much for stopping by - I really appreciate each and every one of your comments!

Rachelle ♥

I have entered this card into the following challenges:

A Bit More Time To Craft - #95

Classic Design Team Challenge

Happy Little Stampers - AG/Dies

Happy Craft Challenge - July 2019 - AG

Sparkles Forum - #118 Wedding

World Wide Design Team Challenge - July #07

Love To Craft Challenge Blog - July AG

Crafty Creations - AG #395

WaterCooler Wednesday Challenges - #231 All Occasion

Addicted to Stamps And More #351 - AG

Cut It Up Challenge Blog - Critters #179

613 Avenue Create - #223 July 2019 AG