Showing posts with label Back to Basics and Beyond Challenge. Show all posts

Tuesday, June 25, 2019

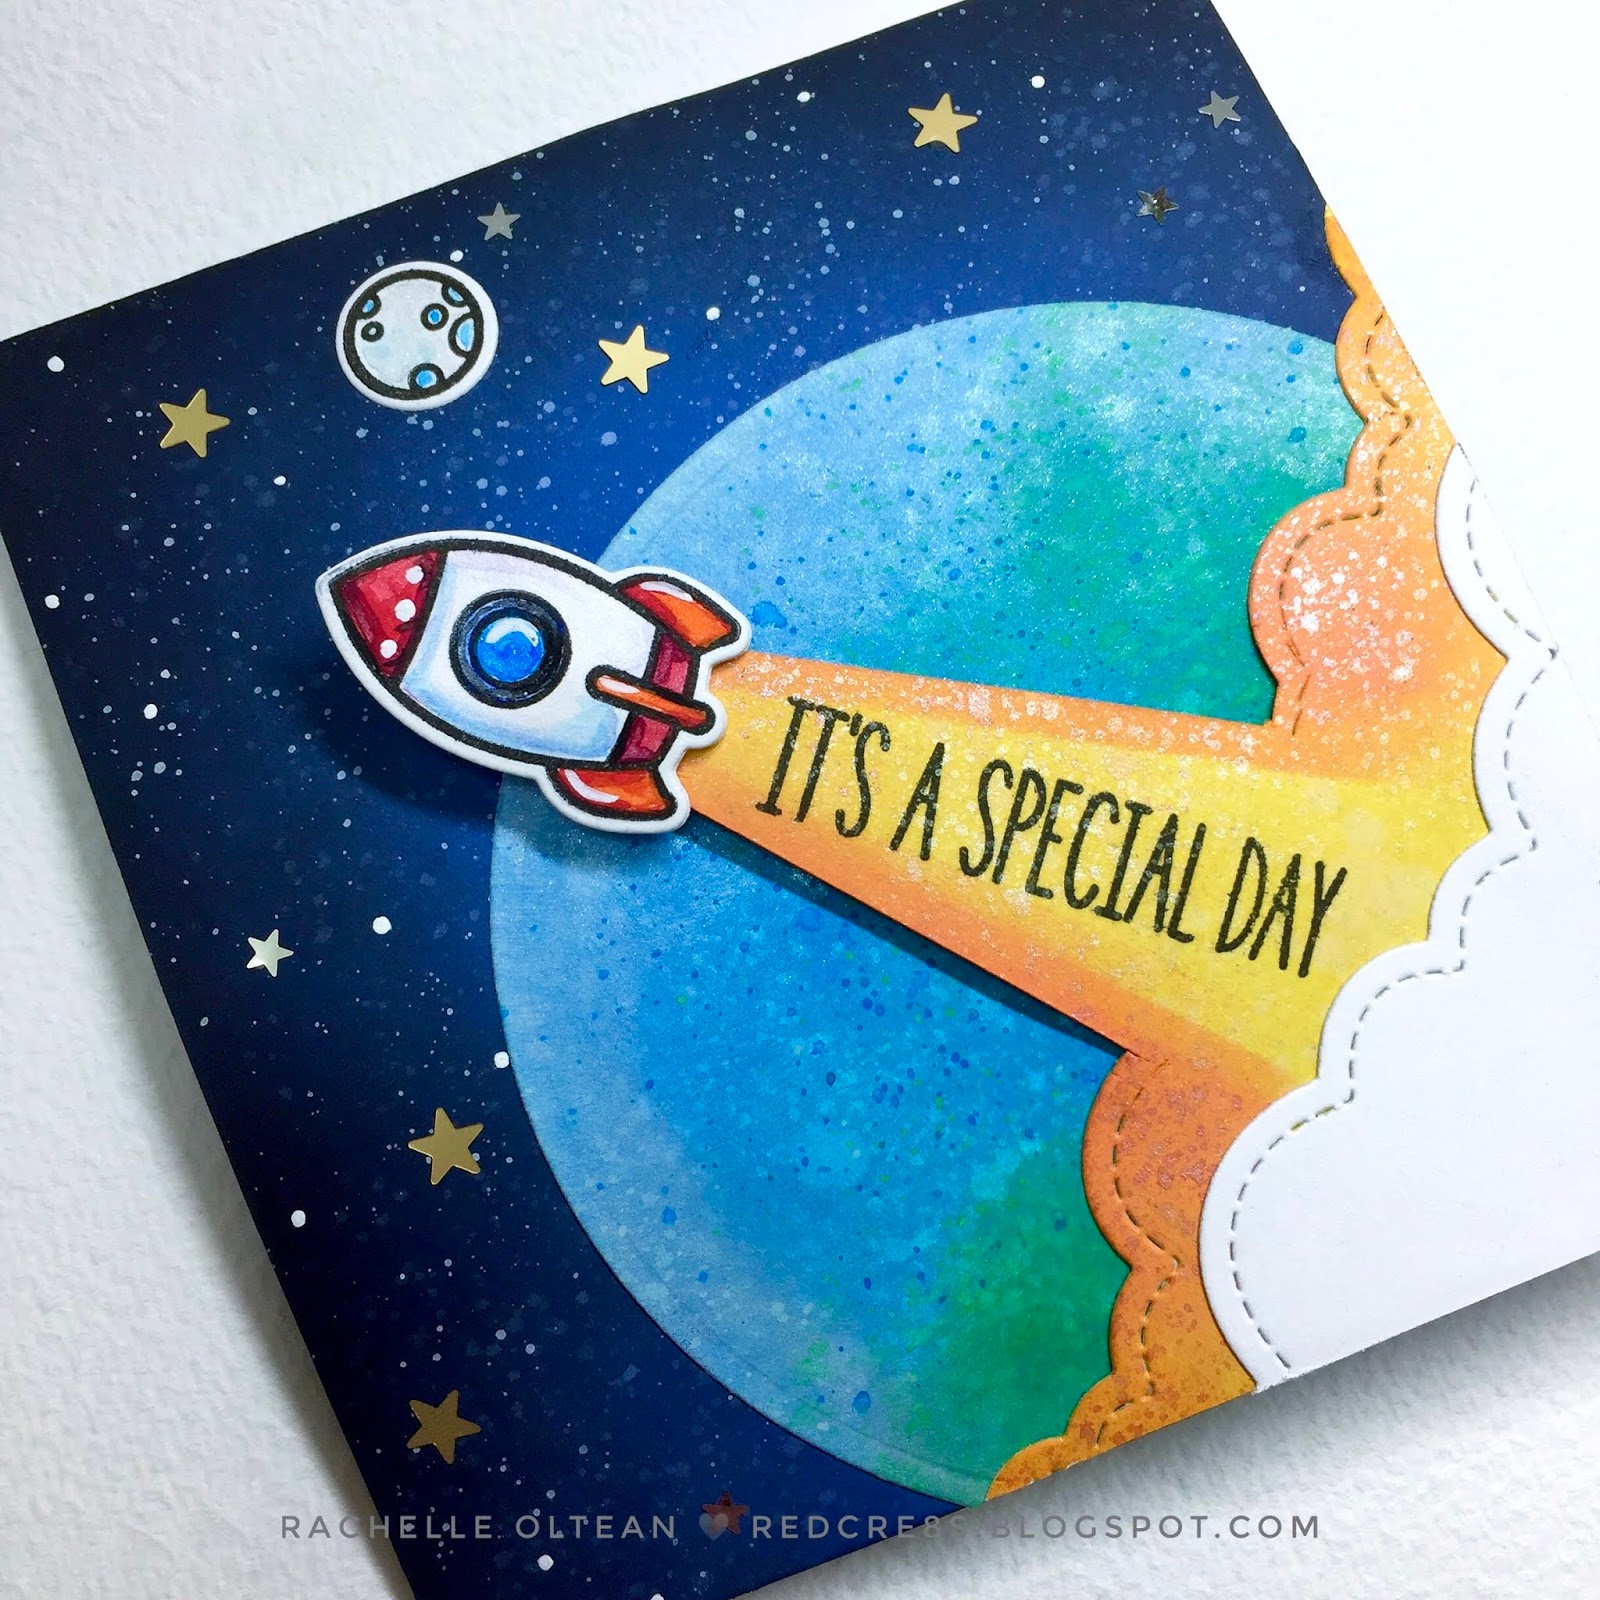
Birthday Card | Lawn Fawn - Out of This World / Explosion Pop-Up


Hello!

Thanks for stopping today...this is my first attempt at a pop-up explosion card and it's my Design Team example over at the Back To Basics and Beyond Challenge Blog. Be sure to check out the other wonderful versions of this really dynamic pop-up design this week! I used one of my favorite Lawn Fawn Stamp Sets - Out of This World, which is still as wonderful as when it was released in Spring 2017. I have always wanted to travel into space but this is probably as close as I will ever get!


This card started out as a 4.25" x 9" piece of white card stock, which was scored at 4.5", leaving the finished top-folding card sized at 4.25" x 4.5". Two letter-sized pieces of black card stock were randomly blended with Distress Oxide Inks (Salty Ocean, Blueprint Sketch, Shaded Lilac & Black Soot) to create a deep space background. Diluted inks and white watercolor were spattered to create stars and everything was spritzed with shimmer spray. I cut one piece to size and glued it to the card front. A 3.5" circle was die cut from white card stock, ink blended to look like the earth, glued to the bottom right front corner and trimmed along the edge. The space ship was stamped, colored and die cut so that I could figure out how large the rocket flame and smoke clouds should be. 

The rocket flame was ink blended using Distress Oxide Inks (Fossilized Amber & Carved Pumpkin) and partially die cut with Lawn Fawn's Puffy Cloud Borders Die. This is a great utility die set and I have used it for clouds, waves, rocket blasts, landscape shapes, tree canopies, etc. I finished cutting the flame with a craft knife and glued it into place over the earth. A piece of white card stock was die cut with the same cloud die, sprayed with shimmer mist, adhered on top and everything was trimmed from the back with a craft knife. The sentiment was stamped onto the flame and the space ship was popped into position with foam tape for added dimension. I finished the front with a sprinkling of matte gold and shiny silver stars from Lucy's Little Things and a mini moon from the Lawn Fawn set.


I cut 2 more pieces of the space background to 4.25" x 4.5" and glued them to the interior of the card. To create the pop-up explosion folding piece, I cut the other blended panel to a 6" x 6" square. This piece was folded in half one way and then the other (with the ink blending facing up) and each time the folded score line was reinforced with a teflon bone folder. This piece was folded one more time on the diagonal - see the diagram below. This diagonal score was gently coaxed into a mountain fold, which caused this entire mechanism to collapse into itself and ended up as a 3" x 3" square. The mechanism was then glued into the center of the interior on the top and bottom, making sure to leave enough room in the middle for the card to close. 
This is a good side-view photo that shows the folding pop-up.


I stamped/colored all of the planets in the stamp set and fussy cut them right next to the black outline. Using a black marker, I inked the edges of each so that when they were glued onto the space background, they would essentially disappear into sky. I did leave the outside "white" edge of the die cuts showing on the astronaut/flag/cake because I wanted that area on top of the moon landing to stand out a bit more. I die cut another 3.5" circle from white card stock and cut it in half; using a stencil with many small circles, I ink blended craters onto the surface of the moon, spritzed it with shimmer mist, stamped the sentiment and glued it into place. The spaceman and his birthday accessories were adhered onto the moon and additional gold stars were glued into the scene. There is so much visual depth inside because of the pop-up/ink blending combination!


I LOVE  how this card turned out!


I have entered this card into the following challenges:


Thanks so much for stopping by!
Rachelle 

Tuesday, May 28, 2019

Birthday Card | My Favorite Things - Bold Blossoms & Wish Die-namics | BBB Challenge - Triple Stamping


Hi There!

Sending out BIG Birthday Wishes from this week's challenge over at the Back To Basics Challenge Blog! To be honest, I had never tried the technique we are highlighting, Triple Layered Stamping, so I had to do a bit of research and figure how to make this work for me! I determined that I wanted to make the background the star of the show and decided to create my own patterned paper using MFT's Bold Blossom Stamp Set. This set is now retired but is still a real gem because of all the geometric flowers & circular shaped stamps. 

I started by taping a piece of 110# Neenah Solar White card stock to my cutting board with painter's tape. You can create this simple watercoloring on the Neenah paper because you don't use too much water. If you get this paper really wet, the fibers pill from the surface, but if you watch how much moisture you add, this is the perfect substrate for creating patterned paper. I quickly drew sketchy circles of different sizes/colors over the entire area with my Caran d'Ache Neocolor Artist's Crayons. There was nothing special to the layout - the space was just filled in randomly but I did try to make the circles of the same color similar in size. Using a medium-sized brush l loaded with water, I used a circular motion to activate the watercolor for each area of color I had applied. Each color was painted  separately and it only took a couple of seconds for each dot. I sprayed the entire surface liberally with shimmer mist, flecked it with metallic watercolor and dried it briefly with my heat gun. Using the Bold Blossoms Stamps, I went back into the circles to add geometric details to the pattern with distress oxide inks to match my color palette (Wilted Violet, Wild Honey, Picked Raspberry & Carved Pumpkin). It was so much FUN to fill in the blanks with the smaller dot stamps and I was really happy with the way the paper turned out! I only needed 1/4 of the sheet for this card so I have lots of this background left to use on other cards. This whole process only took 30 minutes from start to finish! 


I drew a quick sketch of the way I needed the triple cuts to work on a piece of scrap paper and used these measurements as my template. I cut my patterned paper to 5' x 3.75", drew my template on the back and cut out my pieces. This would have been a lot easier if I had small shaped die cuts in all of the sizes I needed but instead I had to cut everything out by hand with my X-acto knife and straight edge! Each cut area needed a 1/8" margin on the outside in order to frame it with the dark pink card stock, which created the triple "layered" stamping effect. Once each of the four pieces were cut to size and adhered to the pink card stock, they were glued (in correct order) to the front of a side-folding A-2 card base.

I applied Wilted Violet Distress Oxide Ink directly onto a piece of purple card stock, spritzed it lightly with shimmer mist and flecked it with my gold paint. I cut this paper four times using MFT's Wish Die-namics die and glued/stacked the images together for dimension. Each letter was backed with foam tape, adhered into place and gold watercolor was applied to the candle's flame to finish the card.


Thanks for joining me today - head on over to the BBB Challenge to see what other great ideas the design team has come up with for this triple stamping technique!

This card was also entered into the following challenges:


Rachelle

Tuesday, April 16, 2019

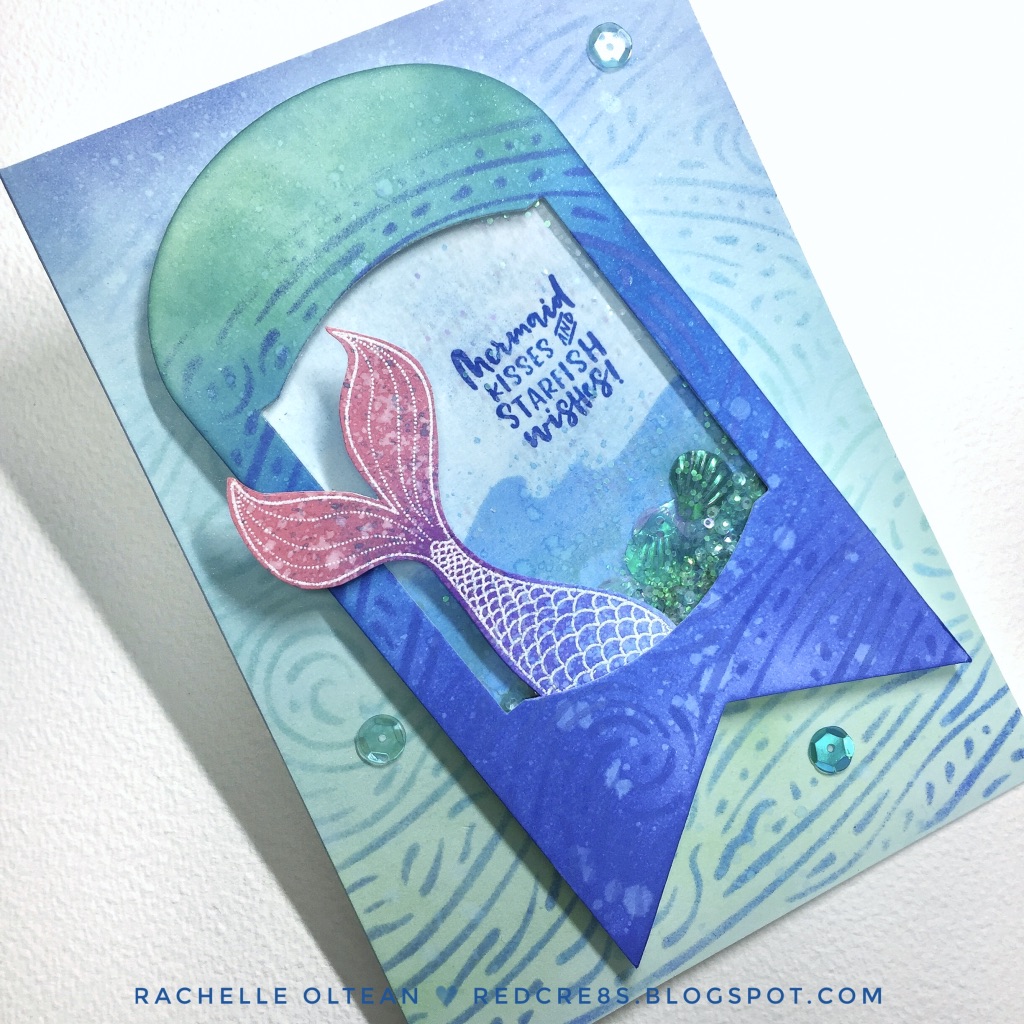
Birthday Card | Back to Basics and Beyond Challenges #26 "Use a Spray" - Ellen Hutson "Inner Mermaid"


Hey!

I would like to share a shaker tag card with you today featuring a great textured background using Hero Arts’ Starry Night Stencil. This card is posted, along with the other beautiful Design Team submissions, over on the Back To Basics and Beyond Challenge Blog - #26 “Use a Spray”.

I blended a Distress Oxide ink background (Salty Ocean & Cracked Pistachio) onto a 5” x 7” white card stock panel, sprayed it with a white pearl shimmer spray, blotted it with a paper towel and flecked it with pearlized water colors. Then I stenciled the wave background texture onto the panel using those same ink colors and a little Blueprint Sketch. I spritzed blue pearl spray through the stencil to highlight the waves. I LOVE this stencil because it looks like ocean waves, swirling wind or snow, and the stars at night – it can be used for so many backgrounds! This panel was glued onto a card front.


I designed a tag die cut in the Cricut Design Space and cut it 3 times from 110# Neenah Solar White card stock. I blended the tag front using the same inks/stencil and die cut the opening using My Favorite Things Stamps’ Elegant Rectangle STAX Die-Namics. This was also sprayed with shimmer mist. I adhered a piece of acetate to the back of the tag and set it aside. I stamped the mermaid tail from Julie Ebersole’s “Inner Mermaid” Stamp/Die Set with VersaMark Ink onto white card stock and heat embossed it with white powder. It’s so easy to blend distress oxides on top of embossed images and I love relief effect. I blended the interior of the tag with some of the same inks and stamped the sentiment using my MISTI; one more plain die cut was glued to the back of the sentiment background to give it some stability.


I added foam tape to the back of the tag front, heaped a pile of assorted sequins into the middle of the stamped piece and adhered the tags together, creating the shaker. The die cut mermaid tail was attached into place with a glue dot and the entire tag was glued to the front panel. All that was left was to adhere a few sequins into place. I really like the way the stencil pattern plays on the background panel and onto the tag and although the photos can’t quite capture the reflection, the shimmer spray really makes this card sparkle!

I have entered this card in the following challenges:

Simply Create Too - Anything Goes/No Twist #148

Daring Cardmakers "Bingo" Challenge - Stamping/Paper/Die Cuts

613 Avenue Create - April/Anything Goes #220

Love to Craft Challenge Blog - #33 April Anything Goes

Thanks so much for joining me today!
Rachelle

Wednesday, April 3, 2019

All Occasion | Back to Basics and Beyond Challenge #25 - 1.2.3. Card


Hey There!

I have just joined the wonderful Design Team over on the Back to Basics and Beyond Challenge Blog (http://bbbchallenges.blogspot.com/) which will showcase technique challenges for beginners and seasoned crafters alike...so it will be about the technique not the content. There will be two challenges each month and it will be great to have total freedom to design around the technique.


The challenge today is a 1.2.3. Card = 1 x Topper,  2 x Colors and 3 x Gems, Pearls or Jewels.


My 1.2.3. combination is:
1 Topper = Mega "Hello" Die Cut
2 Colors = Wilted Violet & Peacock Feathers Distress Oxide Inks
3 Jewels = Iridescent Jewels from Lucy's Little Things

I chose to focus on a large die cut as my topper since I wanted to use a distress oxide ink technique for the coloration on this card. I die cut, glued and stacked three words together from 100# white card stock and a heavy #110 black stock, too. I blended Wilted Violet onto the white die cut, sprayed it with shimmer spray, blotted it with a paper towel and flecked it with metallic watercolors and a little diluted Peacock Feather Ink. When it was dry, I glued it (slightly offset) to the black die cut for a shadow effect. 

I designed my own geometric pattern in PowerPoint and created a 6" x 6" stencil layout, which I die cut (from a heavy-weight acetate) using my Cricut. The options for making your own stencils are endless! I taped the stencil over a piece of 110# white card stock and blended my two inks together in a random pattern. I wanted some of the single color to shine through and also the blended color combo - these two inks work really well together!  A second panel was also blended with just Peacock Feather Ink. Once again, I sprayed both panels with the shimmer mist and used the same flecking technique to give them a speckled texture. After the panels were dry, they were die cut to size. 

The frame die cut was glued directly to the front of an A-2, top-folding white card base and the stenciled panel was popped up with craft foam and adhered in the center. The topper was glued into place and the card was finished with the three jewels - per the challenge. Head over to the BBB Challenge Blog to see the great work submitted by the rest of the design team!

I have also entered this card in these challenges:


Thanks for stopping by today!
Rachelle