Showing posts with label Hero Arts. Show all posts

Tuesday, March 2, 2021

Anniversary Card | Hero Arts - My Monthly Hero Kit - January 2021


Hello!

As soon as I saw the first sneak peek for this Hero Arts' Kit, I knew it would go into my cart when it was available! The images are so well drawn and the sentiments are wonderful! I decided to use this set for an upcoming 6th wedding anniversary card!

I ink-blended an A2 panel along 2 sides, added a bit of extra ink through a sun ray stencil in a couple of places and splattered it with lots of water. When the panel was dry, I trimmed 1/8" off of each side and attached it to a black card base. 


The blossoms were stamped, watercolored and die cut. I heat embossed the bees with clear powder and they were all watercolored/die cut. This heat embossing really made the bees look fuzzy and intensified the illustration. I selectively combined two sentiments from the set to create my own stamped image on the front. 


I used my extra die cuts to embellish the inside panel and stamped the "Happy Anniversary" sentiment to finish up the card! I can't wait to use this set again and again - so there may be a few more bees in upcoming blog posts! Take care and thanks so much for joining me here today! I appreciate your time and encouraging comments!

Challenges:

Crafty Sentiments Designs - AG

Through The Craft Room Door - 2/23 - AG

Try It On Tuesday - Say It With Flowers

A Bit More Time To Craft - #135 - AG

A Perfect Time To Craft - #03-2021 - AG

Dream Valley Challenge #242 - Hand Colored Image

Allsorts Challenge #613 - Feminine

Crazy 4 Challenges #573 - Flowers

Krafty Chicks #548 - All Occasions Week

Simon Says Stamp - Wednesday Challenge - AG

Stay Safe! Rachelle

Friday, May 15, 2020

Birthday Card | Sparkles Monthly Challenge "Use a Real Stamp" - Lawn Fawn


Hola!

Sharing a festive bridge card card with you today that mixes Hero Arts, MFT Stamps and Lawn Fawn products together! I did some friendly bargaining with one of my neighbors and traded some homemade face masks for hand crafted birthday cards; this special creation was designed for her daughter! This is also my DT submission for the new challenge over on the Sparkles Monthly Blog - "Use a Real Stamp (Non-Digi)." 

Using a stencil, I ink-blended a large cloud panel with Salty Ocean DO Ink and spattered it with water. This card ended up being 5.5" x 7" and I trimmed the cloud panel to fit the 5 sides of my scored bridge card base and adhered them in place. I really like how this creates a continuous sky in this scene!

I colored two sets of Hero Arts' Tree Arch Fancy Die and glued stacked them together. Once I determined where I wanted my piñata to hang, I trimmed and scored the trees in order to fit inside. Similarly, I die cut/ ink blended two grassy border panels the scored them the same way to fit behind the trees to give me more dimension. I began the assembly by adhering the grassy panel in place inside the niche using strong two-sided tape and then added the trees in the same way. I LOVE the shadows and depth created by these trees!


The Lawn Fawn piñata was stamped/colored/die cut and hung from the tree with a piece of twine. I cut stitched Ric Rac strips using MFT Stamps' Die in colors to match my piñata and glued them together to create my bottom border. The ric rac band was reinforced by gluing it to a smaller piece of white card stock before adhering it to the card front. This really helped keep the card together since this is the pressure point necessary for stability. The sentiments and sequins were added to finish up the card. 

We can't wait to see your stamping skills over in our Sparkles Monthly Gallery!

Additional Challenges:


Thanks so much for taking the time to comment!
Rachelle

Thursday, February 13, 2020

Valentine's Day | Hero Arts - You Are Loved


Happy Heart Day!

I'm sharing a set of Valentine's Day Cards today featuring Hello Bluebird's Gallery Frame #2 Die and Hero Arts' Stamp Set, You Are Loved, from January of 2019. I wanted to make each card just a bit unique so I emphasized the individual colors and values of this Distress Oxide palette: Worn Lipstick, Abandoned Coral, Candied Apple and Picked Raspberry. 

I lightly blended Worn Lipstick around the edges of a top-folding A2 card base. I die cut the Gallery Frame multiple times from heavy 110# card stock. The inner frame was blended with oxides, spritzed with shimmer mist and flecked with pearlized watercolors. Each frame was colored a bit differently and I focused on variations of color/values. I stenciled a sunray pattern onto the inner frame and spattered this section as well. 

I die cut the hearts using  Lawn Fawn's Stitched Heart Stackables after ink blending, The script was stamped using the MISTI with VersaFine Onyx Black Ink. The sentiment banner was die cut, lightly ink blended on the edges and stamped with the same ink. 


To assemble, I started by gluing the outer white scalloped frame into place on the card front; this gave me a guide for all of the remaining pieces. After the frame sections were adhered, I attached the heart and banner and then stamped the bottom scrolls with the Distress Oxide inks. The card was finished off with a few gems. It was fun playing with the color palette for these cards! 


Thanks so much for joining me and I hope everyone has a wonderful Valentine's Day!

Challenge Submissions:


Rachelle 

Wednesday, October 2, 2019

Sympathy Card | Hero Arts Fancy Tree Die


Hello...

Sympathy cards are never easy for me to make - especially when both parents of a long-time friend pass away within three days of each other. They had been married for nearly 68 years and I'm sure that she died of a broken heart without him. It seems nearly impossible to find sufficient words to express your heartfelt condolences to someone who has just lost both parents.

I began by blending a background panel of Distress Oxide Inks - Squeezed Lemonade, Tattered Rose, Shaded Lilac and Blueprint Sketch. Additional inks were smooshed onto my craft mat one at a time and spritzed with water. I tapped the white card stock onto the wet ink several times until I got the coverage I wanted, let it dry for a moment and moved onto the next color. 


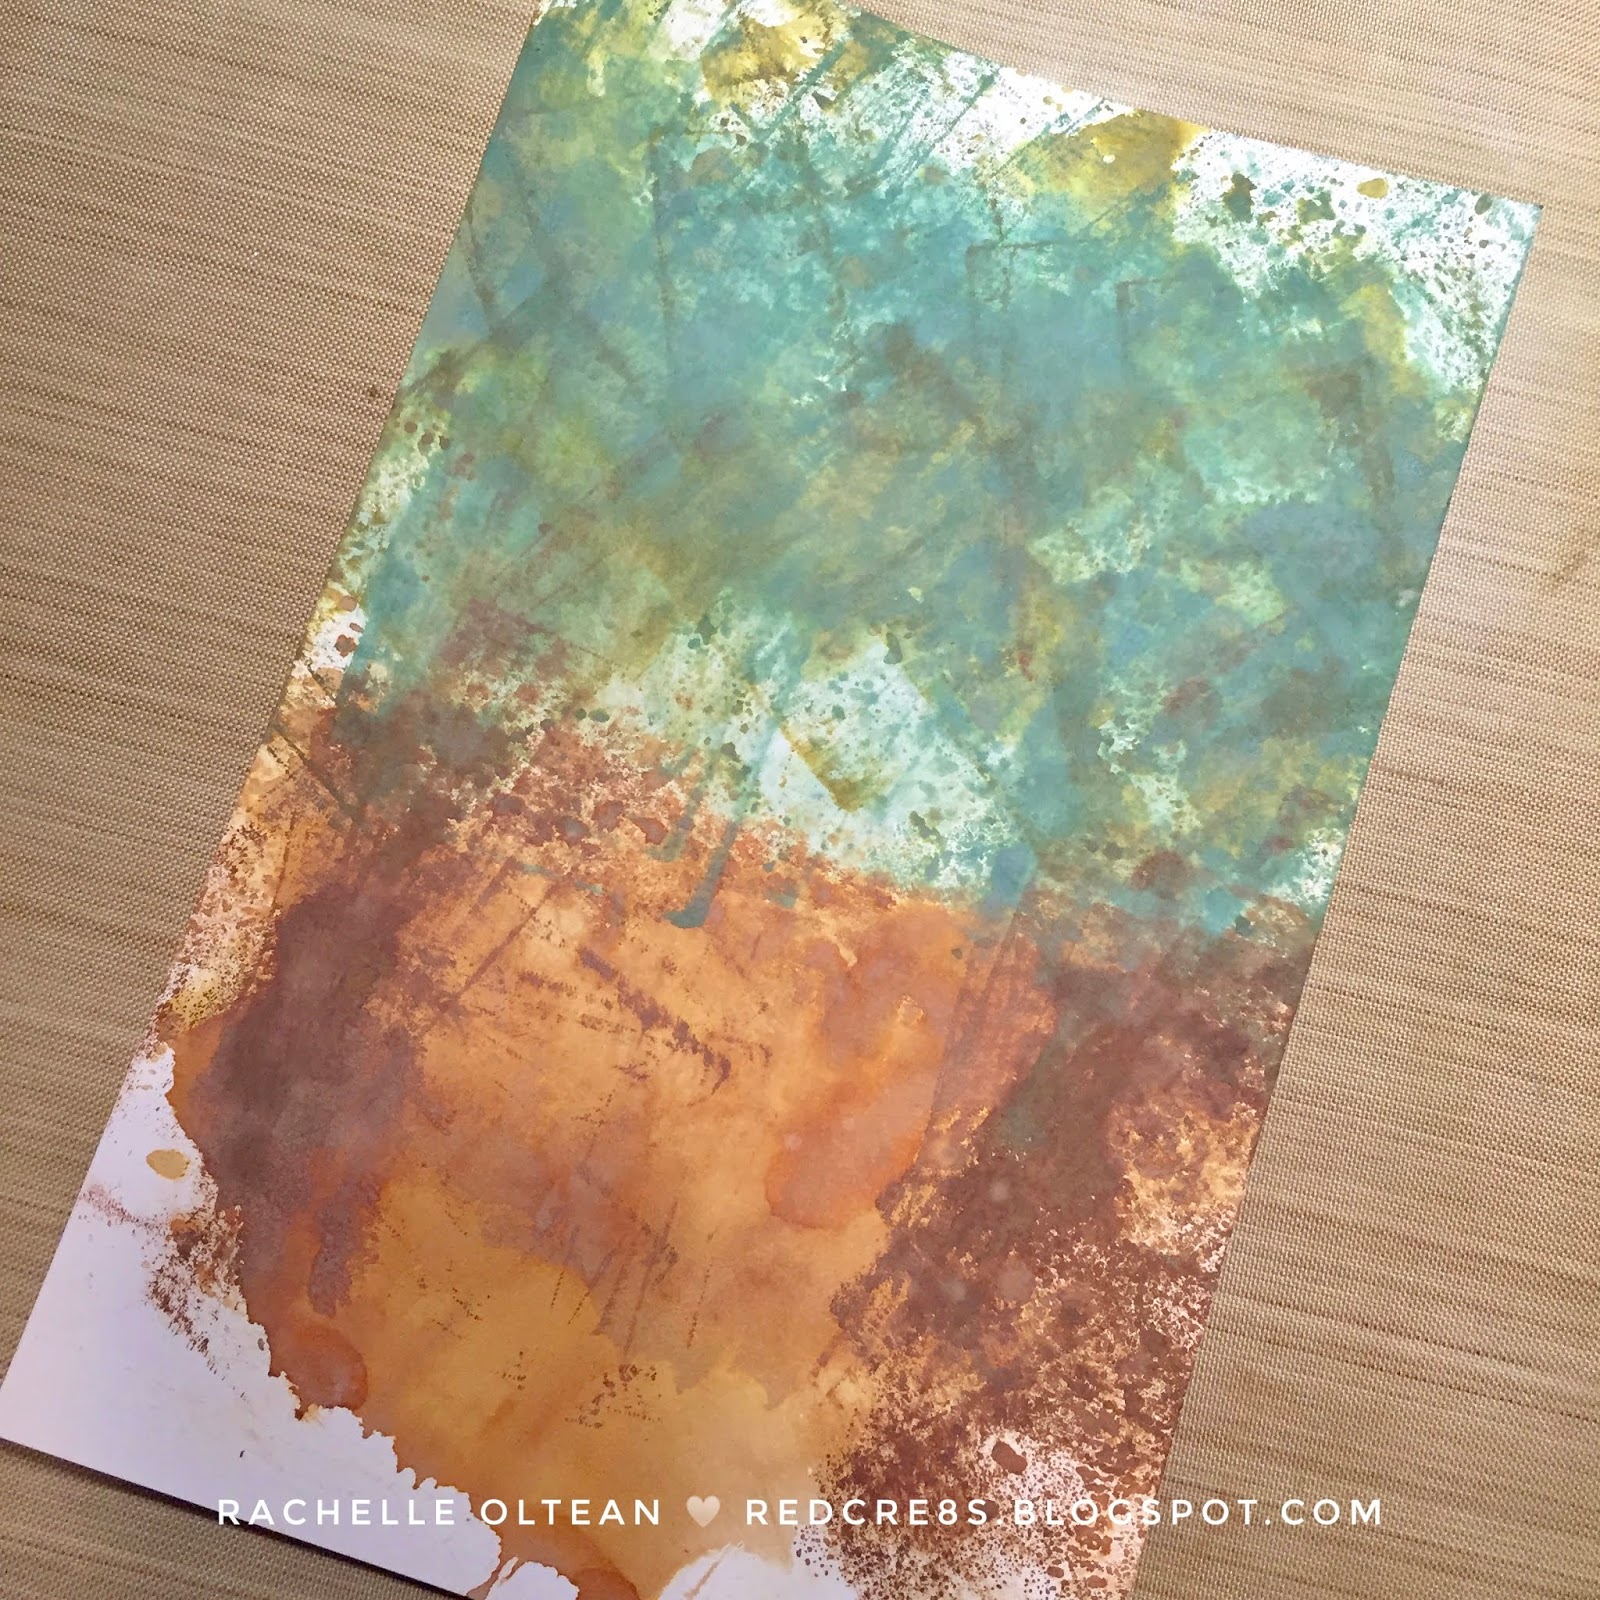
I divided the panel into the green leaf foliage and brown trunk areas to match my die - Hero Arts' Fancy Tree Die. Once I finished with the smooshing technique, I swiped the ink pads directly onto the paper to intensify the color in certain areas.


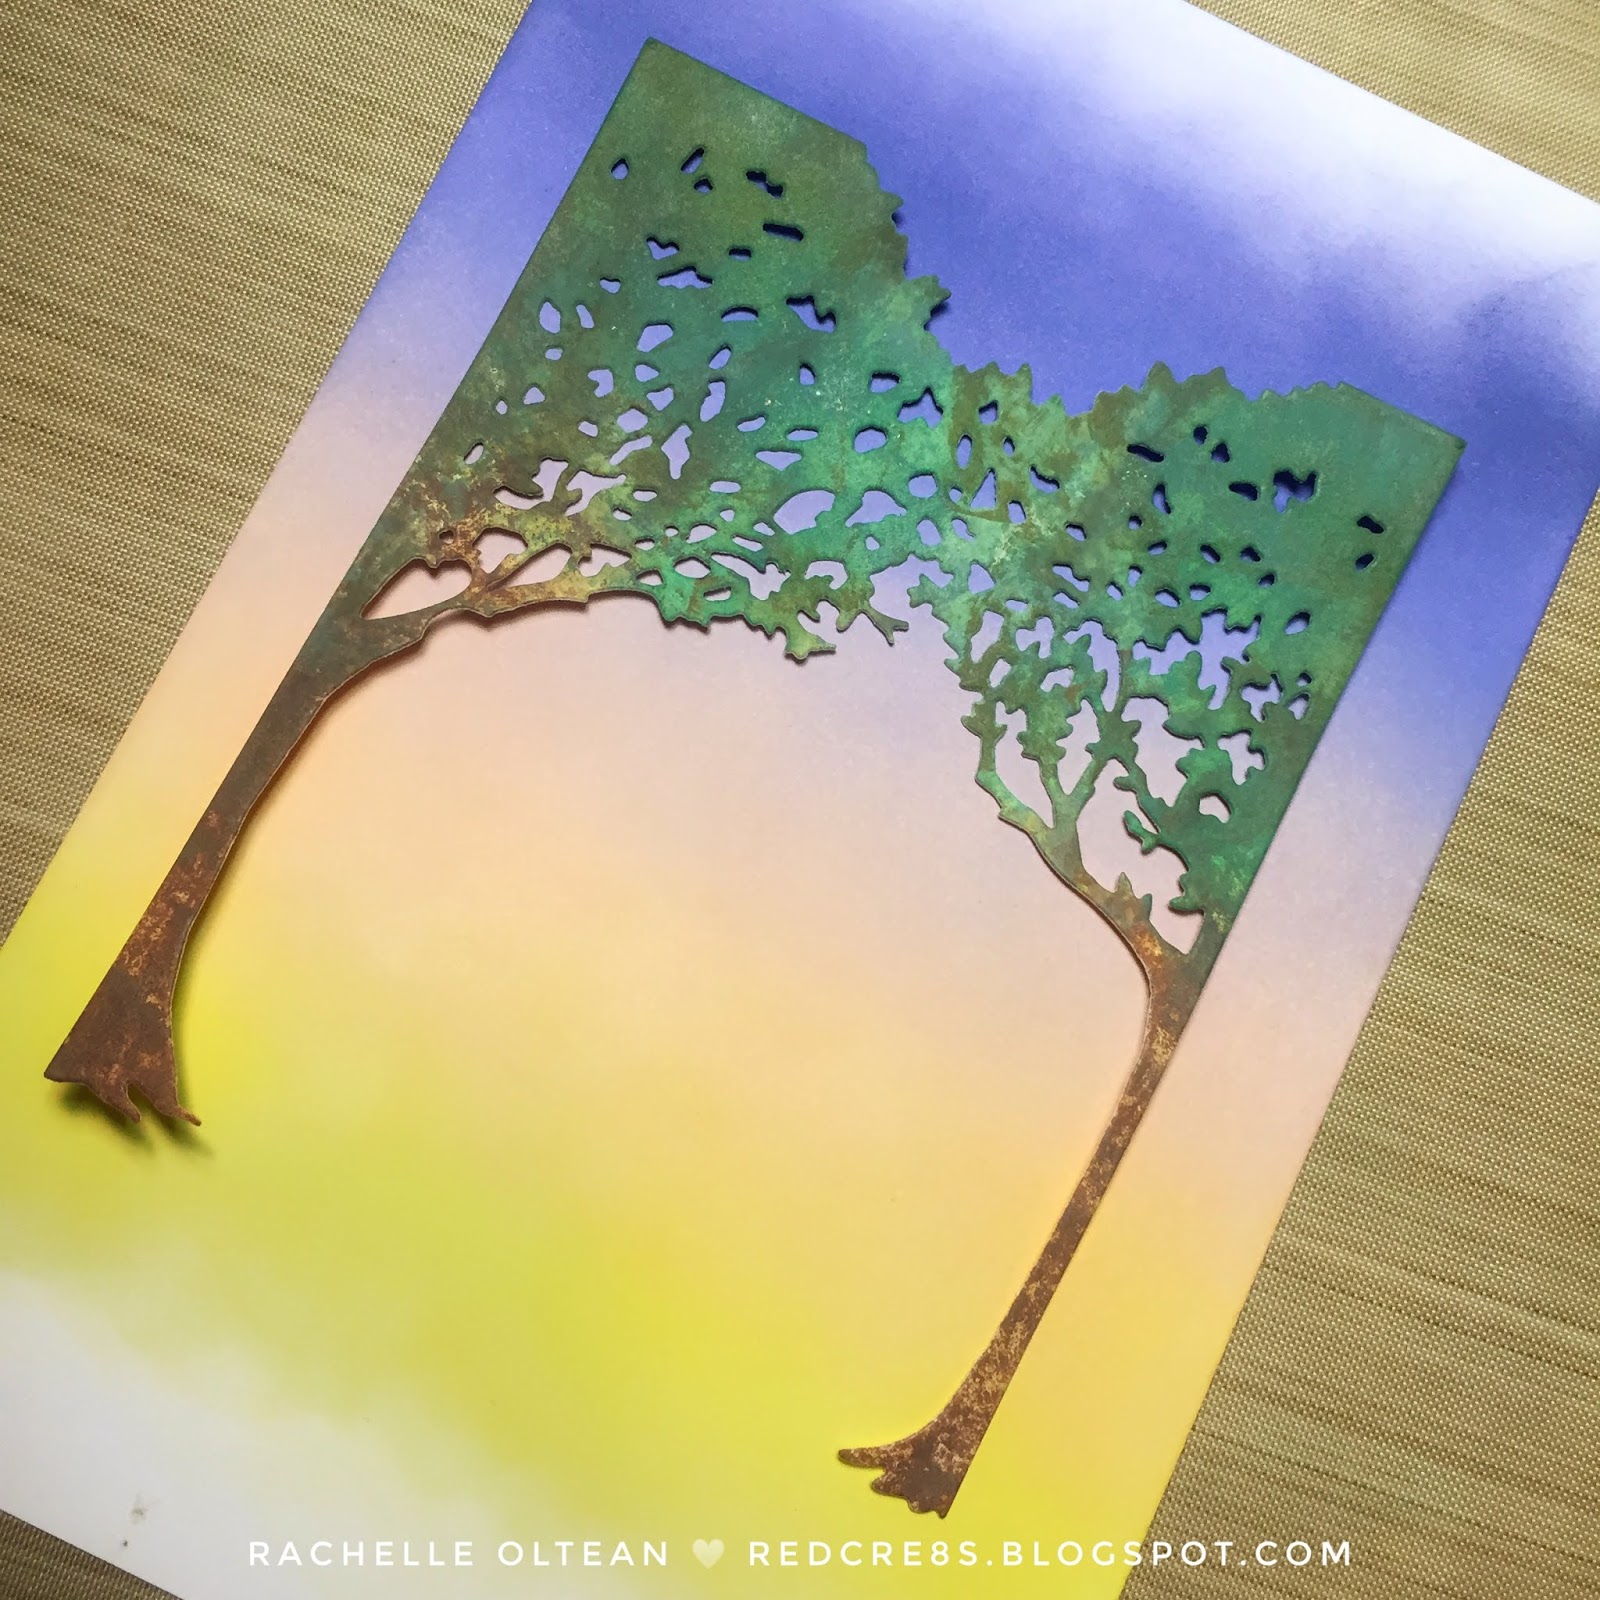
I duplicated this process one more time with slightly lighter colors because I knew that I wanted to layer one die cut on top to create some depth on the trees. Once I determined the tree placement, I cut the ink-blended panel down to 4.25" x 5.5", adhered it to the front of an A-2 top-folding card base and glued the first set of trees in place. The card front was prepped with an anti-static powder tool, the sentiment was stamped with VersaMark Ink and heat embossed with a matte gold powder. This sentiment is from a Michaels' scrapbook line circa 2017.


Tiny strips of foam tape were added to the back of the second tree die cut and it was adhered just slightly offset of the one below to give the scene depth. I spattered the entire card front with pearl shimmer mist/gold watercolor and the card was finished with a few sequins.


Challenges:


Thanks so much for joining me today.
Rachelle 

Sunday, September 1, 2019

All Occasion Card | Hero Arts MMH Kit December 2018 | A Place To Start Challenge Blog - "Show Us Your Masking"


Hi!

Thanks so much for stopping by to join me for another great challenge over at A Place To Start! This month's twist on the Anything Goes Challenge is "The Lone Crafter: Show Us Your Masking" - featuring masking techniques. Please head over to check out the other great ideas the Design Team has to share for this challenge!

I haven't used this Hero Arts' MMH Kit (December 2018) for a while and pulled it out to create a vignette card with this beautiful fairy. 

First, I did a quick sketch of the basic layout/coloration.


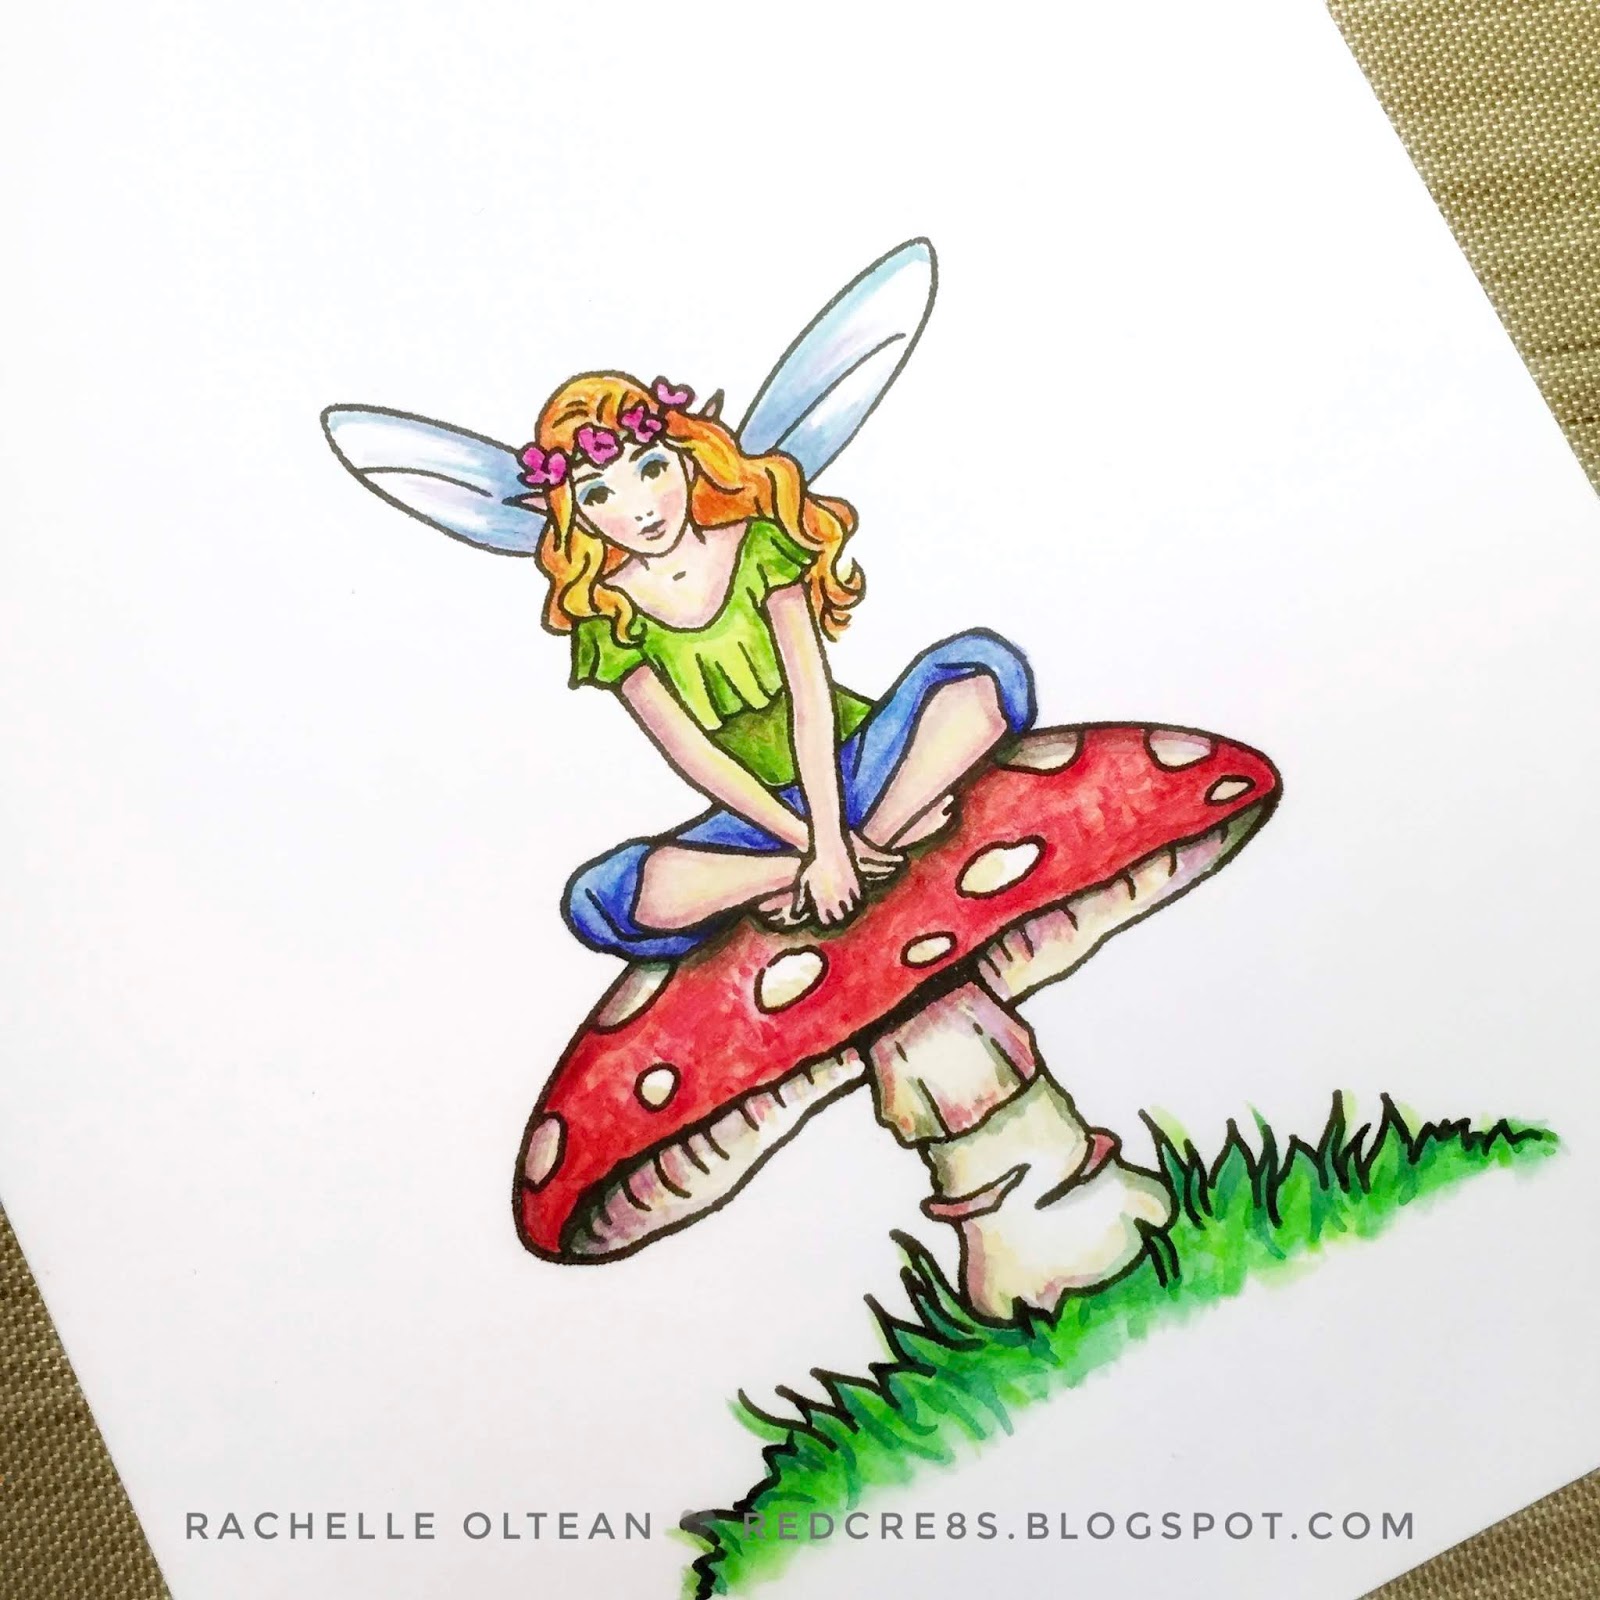
The fairy was stamped on a piece of white card stock and also onto a 
large Post-It Note, which was then fussy cut and stuck over the card stock image.


I then determined the toad stool placement and used the MISTI to stamp it 
on top of the masked fairy image.


I removed the mask and the image was water colored and trimmed with a combination of partial die and fussy cutting. I left enough space at the bottom to add some additional grassy area since I wanted it to fill up the negative space in the scallop die cut.


I trimmed a 1" strip of gingham pattern paper, adhered it to the left edge of an A-2 top-folding card base and set it aside. Using the Pink Fresh "Inverted Scallop Circle Dies", a circle was cut off the right edge towards the bottom of a 3 5/8" x 5.5" panel of the same white card stock. I adhered the fairy image to the back of the scallop opening and backed it with craft foam to give the opening added dimension. 

I ink blended the gradated blue background (using Salty Ocean Distress Oxide Ink) onto white card stock and spattered it heavily with white pearlized paint. This really made the background shimmer behind the fairy. I adhered it to the card front right next to the gingham paper and then glued the die cut panel on top. I added a couple of additional pieces of foam tape behind the fairly itself to really pop the image off the card and lightly curled the wing tips up for even more depth.

After I prepped a piece of black card stock with my anti-static powder tool, the sentiment was heat embossed with white powder and die cut. I lightly blended the same blue ink onto a piece of vellum, die cut it and adhered it behind the sentiment strip as an accent shadow. I felt that the black strip on its own was a bit too harsh and that it needed just a bit of softening - the vellum really worked here. The sentiment was glued into place and trimmed to be flush with the right edge. I gave stamped images a light application with my Wink of Stella brush for a bit of shimmer to finish up the card.

Thanks for joining me today and I really appreciate all of your comments! : ) 

Additional challenge submissions:


Rachelle

Friday, March 22, 2019

All Occasion Card | Hero Arts - MMH Kit December 2018


Hello!
I would like to share a card using the great images from the Hero Arts MMH December 2018 Kit. I needed to find something to work for my entry in the Color Throwdown Challenge #535 and these dandelions and lady bug fit the bill perfectly - red, yellow, soft green and white!

CTD535

Sometimes when I don’t have a clear plan for my layout, I will quickly stamp/die cut the main images and play with the placement until things come together. When I tried to make the dandelion bunch fill the bottom of the left corner, the stems weren’t long enough and the small leaves that came with the set weren’t quite large enough in proportion for the space. To lengthen the stems, I put all of the images into the MISTI side-by-side and then inked the images from the top down, leaving the very bottom of the stems uninked. This allowed me to extend the watercolor by about 2”and I finished the stems by drawing the outline with a fine-tip, permanent black marker. I die cut the images in a similar way by cutting within a 1/2" of the original stem base and finishing the rest by fussy cutting.


In addition, I drew some larger leaves with the permanent black marker (in the same style as the rest of the images) onto 100# white card stock, watercolored and fussy cut them. They blend with the other leaves perfectly! In fact, they really resemble the dandelions that are currently sprouting in my front yard!

A 4.25” x 5.5” piece of Lawn Fawn's "Daisy" Gotta Have Gingham Paper was glued onto the front of an A-2 top-folding card base. I die cut the rectangular frame twice from white card stock, glued it together and then die cut it again using MFT’s Stitched Oval STAX Die-Namics. I wanted the frame to create a window for the dandelion bunch and so I adhered a piece of craft foam to the back. I glued and/or popped the stems and leaves onto the gingham background. The die cut frame was glued into place on the front with one of the large leaves extending forward through the opening. The ladybug die cut was glued into place and a heat-embossed, die cut sentiment strip was added to the front. I finished the card with a few sequins from the Lipstick Sequin Mix from Lucy's Little Things and a little Wink of Stella.

Thanks for stopping by!
Rachelle

Monday, October 29, 2018

Birthday Cards | Hero Arts - My Monthly Hero Kit July 2018


Hey There!

Sometimes you need a few of masculine birthday cards in the same week and this time I decided to create two similar cards using the images from My Monthly Hero Kit – July 2018. The same blended background is used for both cards but they are finished very differently. The backgrounds were created by blending Distress Oxide Inks (Antique Linen, Mustard Seed, Broken China, Salty Ocean and Faded Jeans ) onto a 5.5” x 4.25” panel of Neenah Classic Crest Solar White 110# paper, which was then spritzed with shimmer spray and blotted with a paper towel. I love this color combo for the sky - it really looks like the moment when the sun sets and the horizon glows into turquoise. Using the MISTI, the silhouette fair background was stamped at the bottom of each panel with VersaFine Onyx Black ink. 


For version #1, I die cut three simple frames from black cardstock and glued them together to give the frame some dimension. The frame was then glued onto the inked background panel. I ink blended a scrap piece of white card stock, stamped the happy birthday sign onto it and trimmed out just the sentiment portion. I ran a black marker around the edges to finish. Using the MISTI, I stamped both the birthday sign and several of the fireworks onto the background panel with the VersaFine Ink. The stamped sign cut-out was glued onto the base image and the fireworks were finished off with Peacock Feather Gems from Lucy’s Little Things.


Card #2 starts with the same background glued down to the white A-2 card base. I die cut a white frame (about a 5/8” wide) from 130# card stock, attached a craft foam frame (just a bit smaller in size) onto the back and then adhered a piece of acetate to the foam. This gives you a dimensional cover for a simple shaker card. I placed a spoonful of confetti mix onto the background panel and taped the shaker frame to the front using foam tape. I lightly blended several of the oxide inks onto a piece of scrap card stock mimicking the sky colors and stamped the biplane with banner image in VersaFine ink. The word “Birthday” was stamped onto the banner and the image was die cut. I stamped/die cut the “happy” script and then die cut several blanks, which I stacked and glued together to give dimension to this word. I adhered both the biplane and “happy” sentiment directly onto the acetate panel with just a bit of tape runner and finished off the images with a little Wink of Stella. 


Our Badge

I submitted this shaker card for Seize the Birthday's "Anything Goes" Challenge.

Thanks for stopping by today!

Rachelle


Tuesday, September 4, 2018

All Occasion Cards | Hero Arts MMH May 2018 - Stampin' Up Enjoy Life


Hey There!

I decided to combine a couple of silhouette-themed stamp sets with a soft, graphic background created with Distress Oxide Inks. I first die cut several sizes of a plain circle onto scrap paper and then used the die cuts as a stencil to blend the shapes together randomly on a 4.25 X 5.5” piece of Neenah Solar White card stock. I wanted to keep the shapes a bit more concentrated toward the bottom left corner where I was going to place my silhouette images. I spritzed the inks with shimmer spray to activate and dried certain areas with a paper towel. I cut several small scalloped rectangles from the same card stock and glued them together to create a dimensional frame that had some visible ‘weight’ to it. I used an extra rectangle as a mask (and for stamp placement) and taped it to the background. Using my MISTI, I inked and stamped the grass silhouette to extend just beyond the edge of the rectangle.


I also used the MISTI to stamp the girl on a swing from Hero Art’s MMH May 2018 Kit and the extended arm “Victory” image from Stampin’ Up’s Enjoy Life stamp set. I blended the oxide inks together on a scrap piece of 2 x 4.5’  white card stock and trimmed off a 3/8” piece. I trimmed down the circle background down to 4.5” and adhered it to the front top of an A-2 white card base. I glued the small inked strip right next to it and finished off the bottom with a piece of black card stock. I adhered the scallop rectangle frame to the front with foam tape, giving it even more dimension. The sentiments were stamped with VersaMark Ink and heat embossed with Lawn Fawn’s white embossing powder. Each sentiment strip was die cut/hand trimmed along the edges and adhered with foam tape. The cards were finished off with a sprinkling of coordinating confetti. 


I was really happy with these finished cards and will be able to switch the images/colors/frame shapes in the future to create entirely new designs! 

Thanks for stopping by and have a great day!
Rachelle

Tuesday, August 7, 2018

All Occasion Cards | Hero Arts - MMH Kit June 2018


It's a beach day!

I’m sharing a couple of cards that were made with the fantastic products included in the Hero Arts’ MMH Kit June 2018. I ♥ LOVE  the realistic dimension that you can create from the multiple image layers of sea and clouds. This reminds me of days at the ocean where it's almost too bright to see without your sunglasses and the air seems to sparkle!

I created the sky in this example by covering ½ of a white card stock panel and then lightly blending Distress Oxide Ink (Salty Ocean) upward to represent high clouds. The ocean was stamped using the inks that came with the kit right along the skyline and the beach was blended up to the water line with Antique Linen Ink. Water and water colors were spattered onto the beach to create a sandy texture. I used pearlized paint to highlight the ocean waves and then stamped/die cut the large cloud. I stamped the “Hello” greeting with VersaMark Ink and heat embossed it with the “Sand” powder included in the kit. The birds/sailboat were stamped with VersaFine Onyx Black Ink using the MISTI. The white card stock panel was adhered to black card stock and then put onto the front of a 5 X 7” card base.


The background for this card was created by combining acrylic paint and Distress Oxide Inks – this provides a rich base color and a soft, dusty quality to the image. I painted the background in yellows/oranges/red with a wide brush keeping the light tones at the bottom. I blended Distress Oxide Inks (Wild Honey, Abandoned Coral, Candied Apple, Black Soot) to provide depth and used these same inks to stamp the water/waves in the scene. I stamped the island, palm trees, and sailboat with VersaFine Onyx Black Ink. A large oval was die cut out of white card stock and backed with craft foam. The sentiment was stamped onto a piece of black card stock with VersaMark Ink, heat embossed with white powder and trimmed. The scene was cut down to be just a bit larger than the oval die cut and glued down to the center of the card front. The oval die cut panel was adhered on top of the scene with strong tape and the card was finished off with the sentiment and some Clear Round Drops from Studio Katia.

Thanks for joining me!
Rachelle 

Friday, July 27, 2018

Birthday Card | Hero Arts - MMH July 2018 Kit


Hey there!

I grew up in Midwestern farm country and believe me, the county fair was (and still is) a very BIG deal! I just LOVE the MMH’s July 2018 Kit, which captures the sweet charm of all the festivities!

To create the graduated sunset, I used an ink brayer and acrylic paint. Several short lines of acrylic paint were overlapped a bit along the edge of a piece of Neenah Solar White #110 card stock. The paint was then rolled onto the paper several times with the brayer, which blends the areas together to create the gradation. I made several backgrounds using this same color combo before cleaning the brayer and switching up the colors to a blue/purple palette.

When the panel was dry, the fair scene was stamped using VersaFine Onyx Black Ink, embossed with clear powder and then die cut. I prepped a piece of black card stock with my anti-static powder tool, embossed the sentiment with VersaMark Ink and heat embossed it with white embossing powder; the strip was then trimmed down to size. I glued a piece of white craft foam to the back of the scene panel to protect it while going through the mail.  A ¾” strip of striped paper was glued to the bottom of an A-2 white card base and the panel was adhered to the center of the card front with strong tape. I added a few gemstones and the sentiment strip to finish the card.


I used the “Happy Birthday” marquee sign from the set for the inside of the card and embossed a sentiment from MFT’s “More Essential Sentiments” to complete the greeting.


Thanks for joining me today!
Rachelle 

Tuesday, May 29, 2018

Birthday Card | Seas The Day

Hey there!

I’m beginning to think I have a problem – an honest-to-goodness addiction! I just can’t seem to resist all of the great stamp/die sets containing sea creatures! (I wonder if being a Pisces has anything to do with it?) The card today features a mix of some of my favorite images from the following: Julie Ebersole’s “Mermaid's Tail” and “S’Whale”, Hero Arts’ “Mer-Mazing Messages”, and Memory Box’s “Oceana Corner Die”.

To begin, a piece of teal card stock was glued onto a 6-inch square white card base. I taped a piece of Strathmore Bristol onto an Epicurean Cutting Board and randomly blended several colors of Distress Oxide Inks (Twisted Citron, Cracked Pistachio, Salty Ocean, & Broken China) onto the paper while leaving some white margins. After spraying generously with water, I flicked large drops of pearlized watercolors onto the wet inks with a stencil brush, waited about 15 seconds and daubed it with a dry paper towel. Additional ink and watercolor drops were added to the paper until I achieved the underwater look I wanted and then the entire surface was sprayed with Sheer Shimmer Spritz.  After it was dry, the panel was cut down to a 5-inch square, which matched the size of the Oceana corner die. I glued the die cut pieces onto the left side of the painted surface. The square panel was put into the MISTI and several fish images were stamped. After prepping the surface with an anti-static tool, the sentiment was stamped and embossed with clear embossing powder. I glued a 4.75-inch square piece of white craft foam onto the back of this panel and attached it to the center of the teal card front using strong double-sided adhesive tape. A mix of Lucy’s Ice Cube & Rainbow Sparkles Jewels were added and the die cut was highlighted with a Wink of Stella Clear Glitter Brush Pen.

I love how the fish seem to fade into the watery background and the corner die cut is amazing! 


Thanks so much for stopping by and have a great day!

Rachelle