Happy Fri
YAY!
I’m
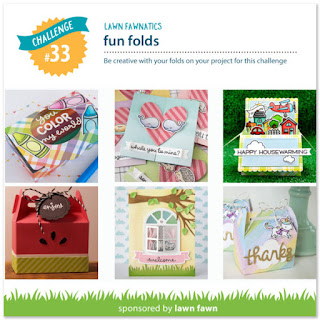
sharing a fun Sliding Pop-Up card with you today that I entered in the Lawn Fawn Challenge Blog. This challenge features projects with “fun folds” and this
card fits the bill perfectly!
I don’t
have a die that will cut this type of slide mechanism but I was able to easily create
the same functionality using a regular Lawn Fawn Stitched Rectangle Die 4.5” x
3.25”. I centered the rectangle die in the middle of a 4.25” x 5.5” panel of kraft card
stock but die cut just below the top of the shape by moving the cutting plate
off of that part of the die before running it through the machine. I was then
able to extend the sides of the rectangle upward with my craft knife. This gave
me a flap with the same measurements as the die and starting at the bottom, I
scored the flap at ¼”, 2” and at the top.
I die cut a large stitched scalloped rectangle from patterned paper and
glued it to the kraft panel. I stamped, colored and die cut all of my “Jump for
Joy” images – finishing them off with a Wink of Stella and tiny Black Nuvo Drops
to accentuate their eyes.
To
create the scene, I die cut the clouds, sun, grassy border, and stitched
hillside pieces and determined the layout. Some of these landscape pieces were
shaded with Distress Oxide Inks and the sky was die cut from blue card stock using
the same stitched rectangle die. I scored the sky piece to match the pop-up and
glued it down just above the ¼” score line. The grass and hillside pieces were die
cut within the rectangle so that the edges were all finished off with the outer
stitched lines. Everything in the scene was glued into place making sure that the
pieces were adhered only onto one of the panels. You have to leave the middle
score line (fold) open or else the pop-up mechanism won’t work. The small sentiment
was stamped at the top of the scene with VersaFine Onyx Black Ink using the
MISTI.
I cut a 3.25”
x 5” piece of contrasting card stock and just by holding it in place at the
bottom of the pop-up, I pushed up to move the panel about ½ way. This reveals
the area where the second sentiment should go and I marked it with a small
post-it note. The “Happy Birthday” sentiment was stamped with VersaMark Ink and
heat embossed with white powder. The card front was flipped over, strong tape
was put onto the ¼” scored tab and the embossed panel was carefully aligned and
adhered to the tape at the bottom.
A 4.25”
x 5.5” piece of gold card stock was placed under the card front and I pulled up
on the mechanism so that I could see the top sentiment. I determined where I
wanted my 3rd sentiment to go by placing the post-it note in the revealed
window area. Once the sentiment was stamped, I flipped the card front over again and adhered
strong tape only to the bottom and 2 sides surrounding the sliding panel. You
must not get any adhesive on the panel or else the pop-up won’t work. The front
panel was adhered to the gold card stock and then affixed to a top-folding A-2
card base. I trimmed the dark brown sliding panel down so it was just visible
above the card, punched 2 small circles from the patterned paper and glued them
at the top/center of the slider. I stamped the word “PULL” on the front circle and
that finished off the card.
I ♥ LOVE ♥ the
way this design works! You have a cute scene that changes with the pop-up and several
places to hide additional sentiments. I have made several different card
designs using this same basic method and it only takes a fraction of the time
of my first attempt.
Thanks for joining me today!
Rachelle ♥


No comments:
Post a Comment