Hello...
Sympathy cards are never easy for me to make - especially when both parents of a long-time friend pass away within three days of each other. They had been married for nearly 68 years and I'm sure that she died of a broken heart without him. It seems nearly impossible to find sufficient words to express your heartfelt condolences to someone who has just lost both parents.
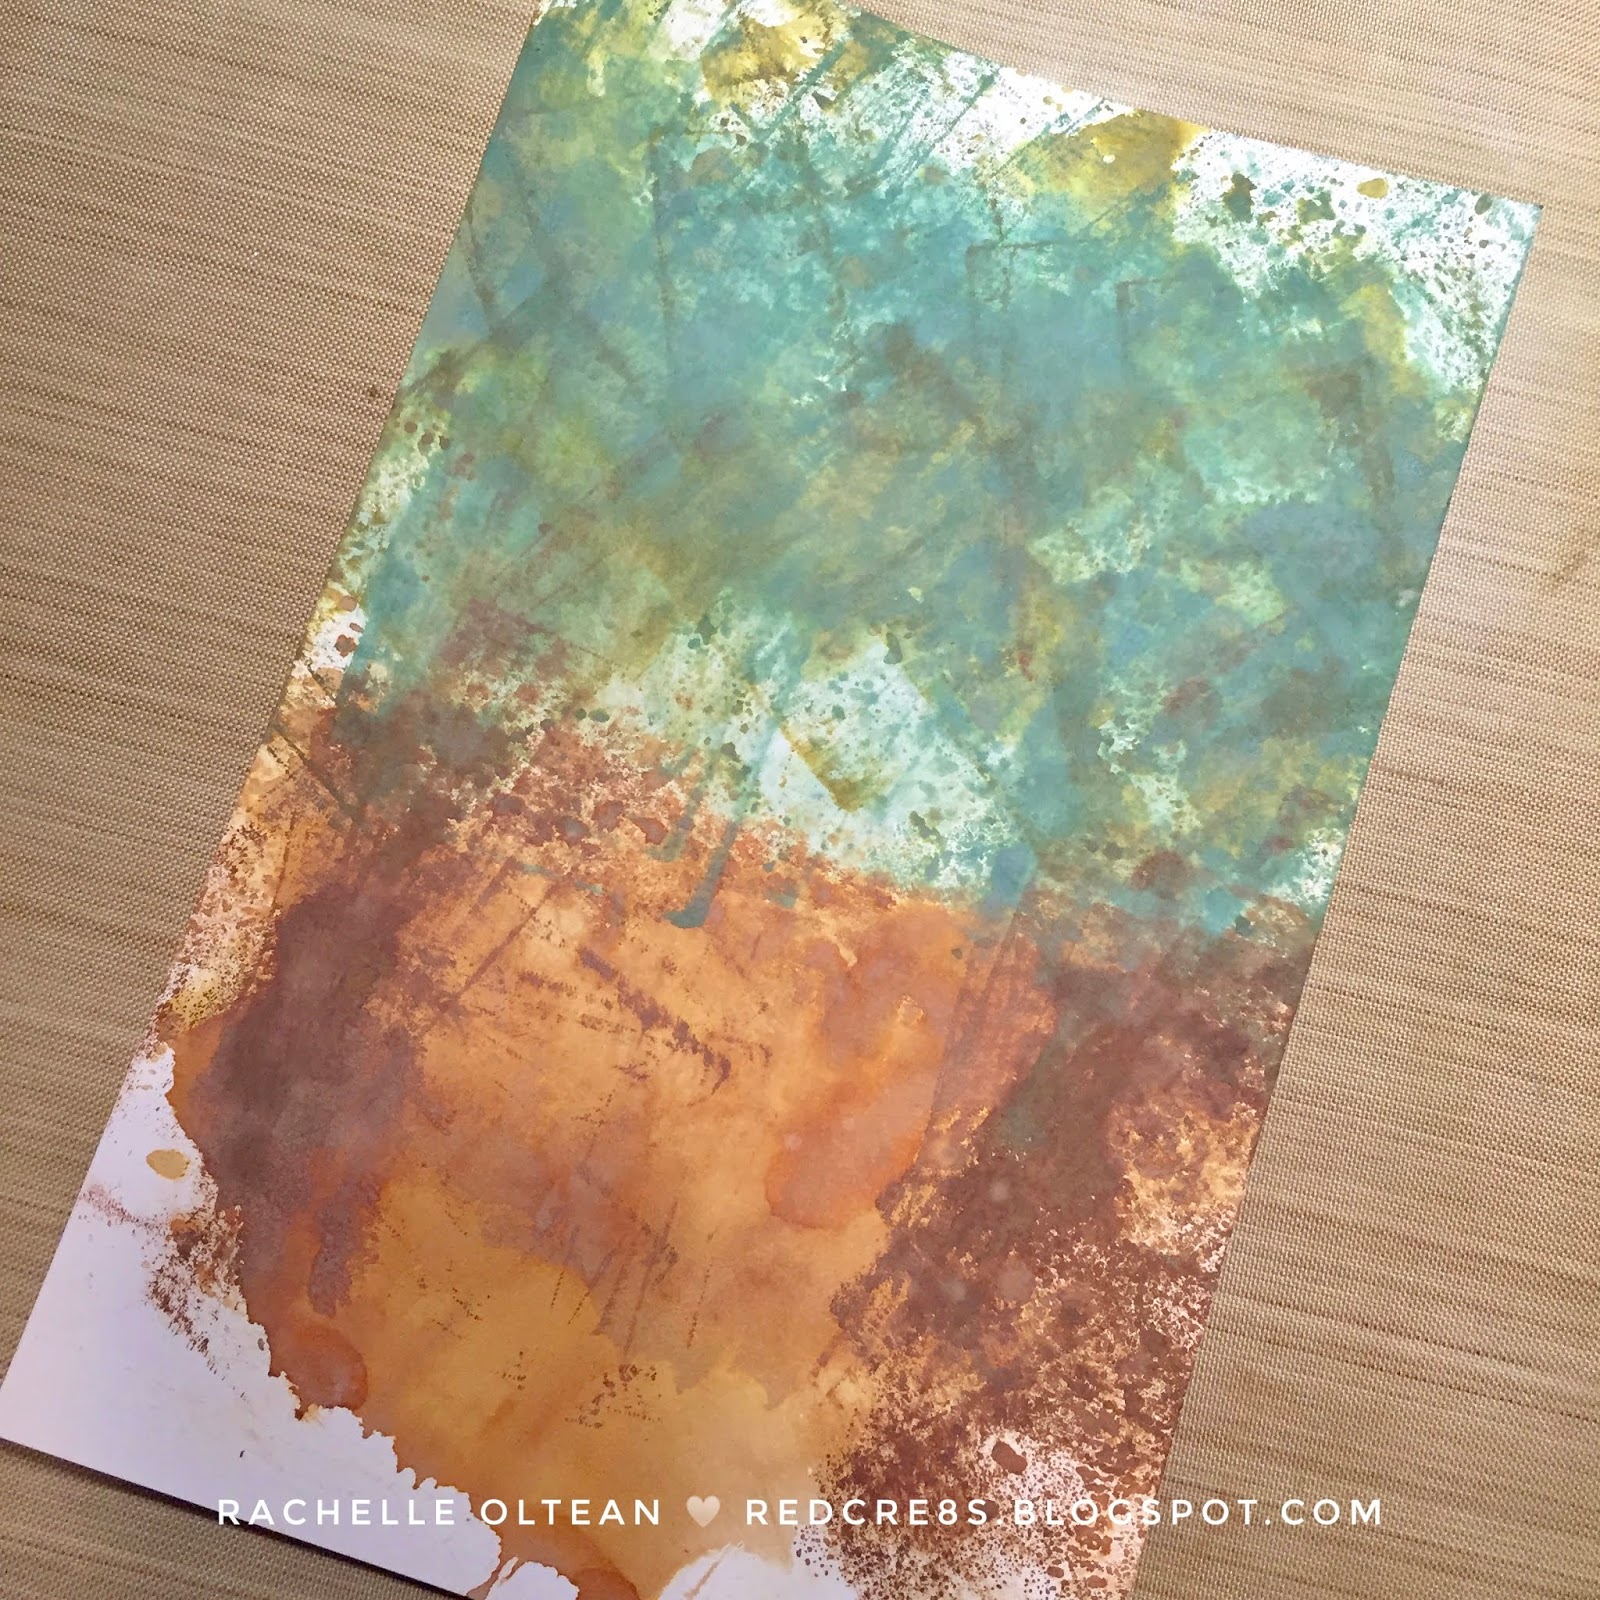
I began by blending a background panel of Distress Oxide Inks - Squeezed Lemonade, Tattered Rose, Shaded Lilac and Blueprint Sketch. Additional inks were smooshed onto my craft mat one at a time and spritzed with water. I tapped the white card stock onto the wet ink several times until I got the coverage I wanted, let it dry for a moment and moved onto the next color.
I divided the panel into the green leaf foliage and brown trunk areas to match my die -
Hero Arts' Fancy Tree Die. Once I finished with the smooshing technique, I swiped the ink pads directly onto the paper to intensify the color in certain areas.
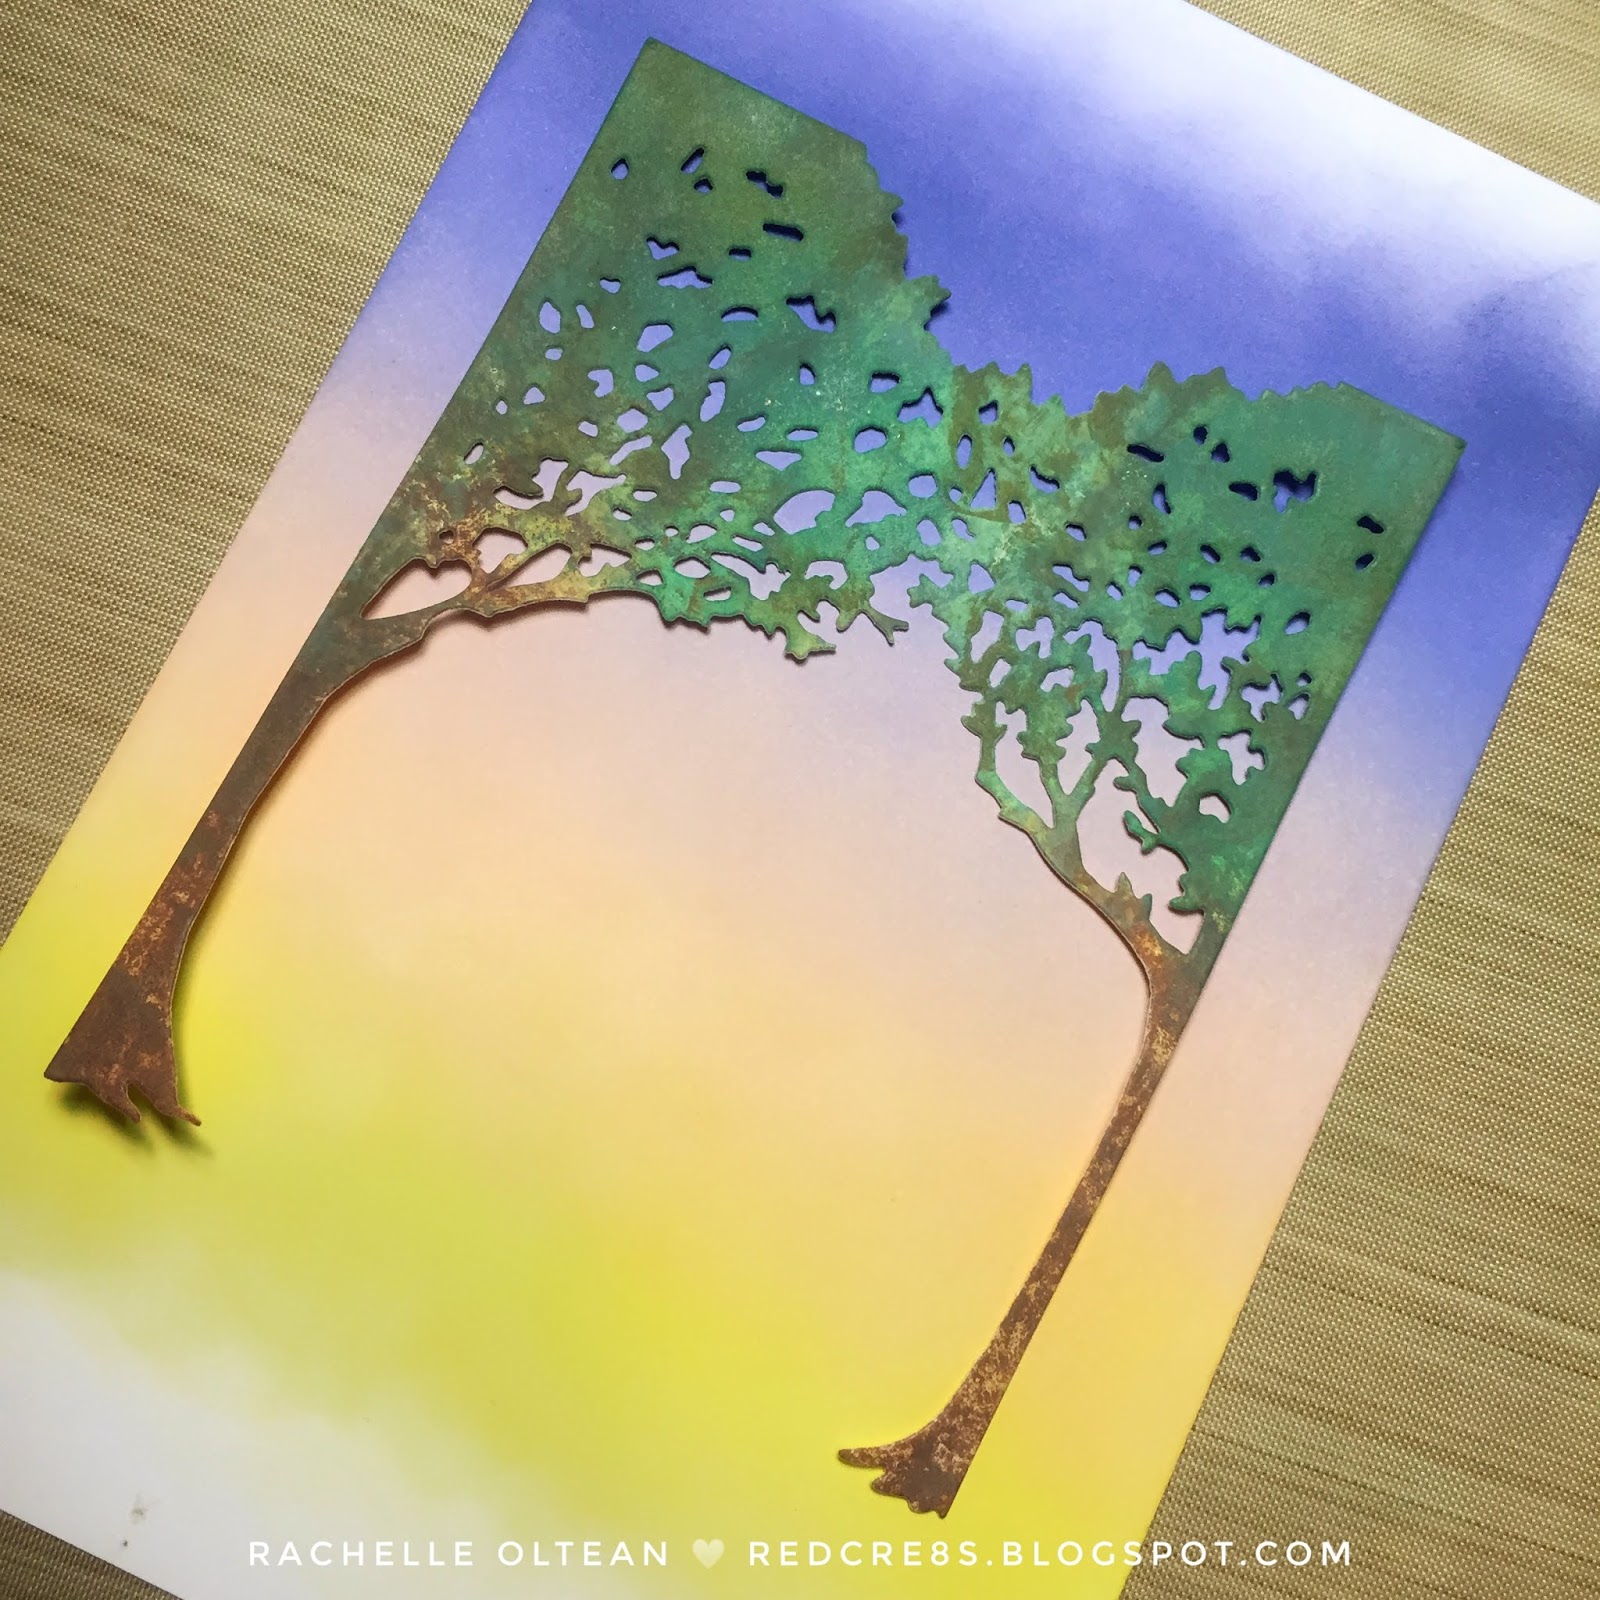
I duplicated this process one more time with slightly lighter colors because I knew that I wanted to layer one die cut on top to create some depth on the trees. Once I determined the tree placement, I cut the ink-blended panel down to 4.25" x 5.5", adhered it to the front of an A-2 top-folding card base and glued the first set of trees in place. The card front was prepped with an anti-static powder tool, the sentiment was stamped with VersaMark Ink and heat embossed with a matte gold powder. This sentiment is from a Michaels' scrapbook line circa 2017.
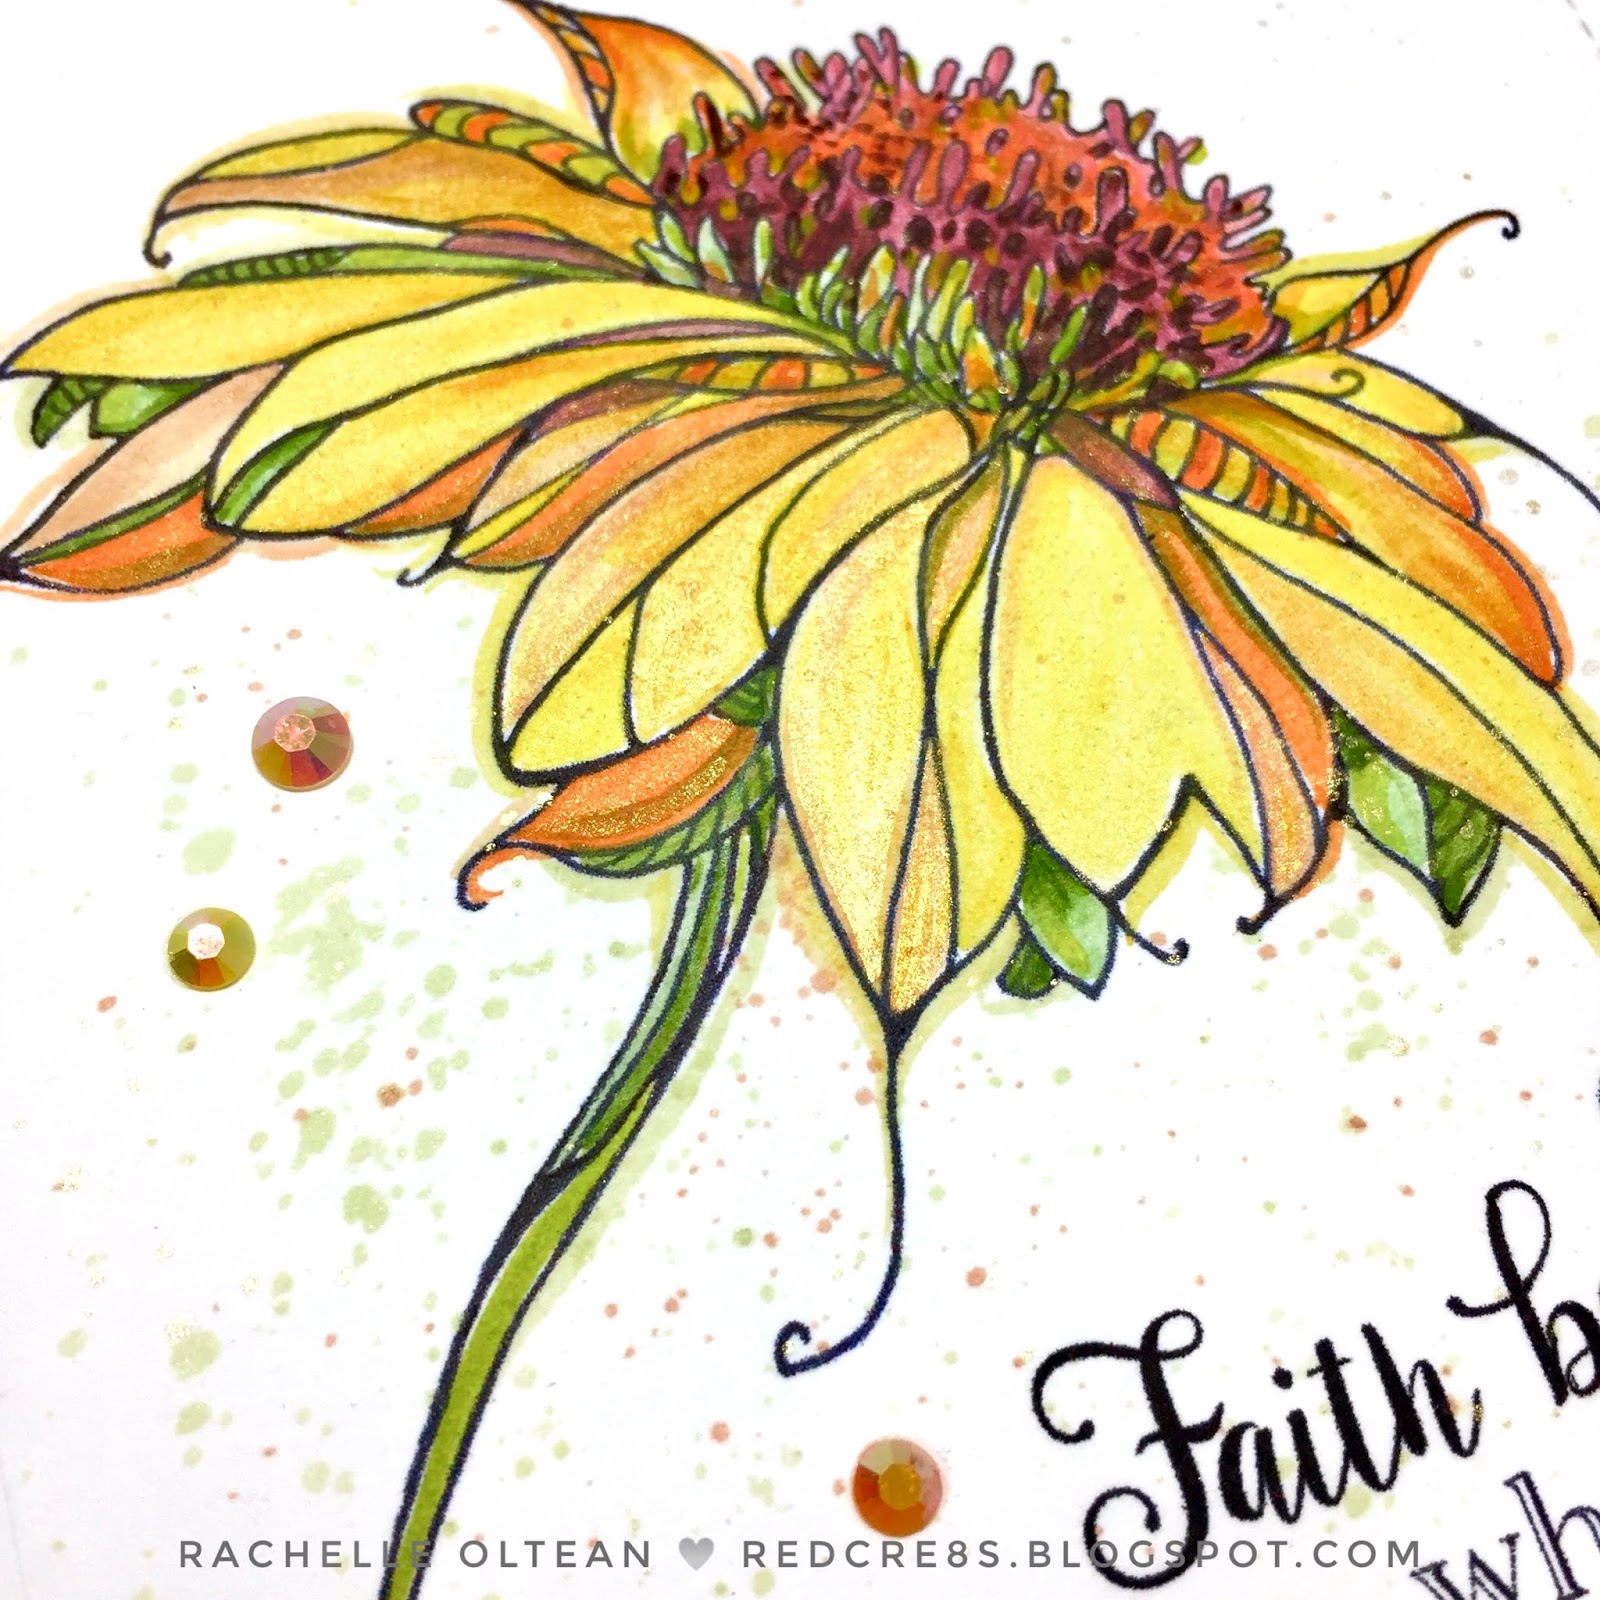
Tiny strips of foam tape were added to the back of the second tree die cut and it was adhered just slightly offset of the one below to give the scene depth. I spattered the entire card front with pearl shimmer mist/gold watercolor and the card was finished with a few sequins.
Challenges:
Thanks so much for joining me today.
Rachelle ♥