Showing posts with label My Monthly Hero Kit (MMH Kit). Show all posts

Sunday, September 1, 2019

All Occasion Card | Hero Arts MMH Kit December 2018 | A Place To Start Challenge Blog - "Show Us Your Masking"


Hi!

Thanks so much for stopping by to join me for another great challenge over at A Place To Start! This month's twist on the Anything Goes Challenge is "The Lone Crafter: Show Us Your Masking" - featuring masking techniques. Please head over to check out the other great ideas the Design Team has to share for this challenge!

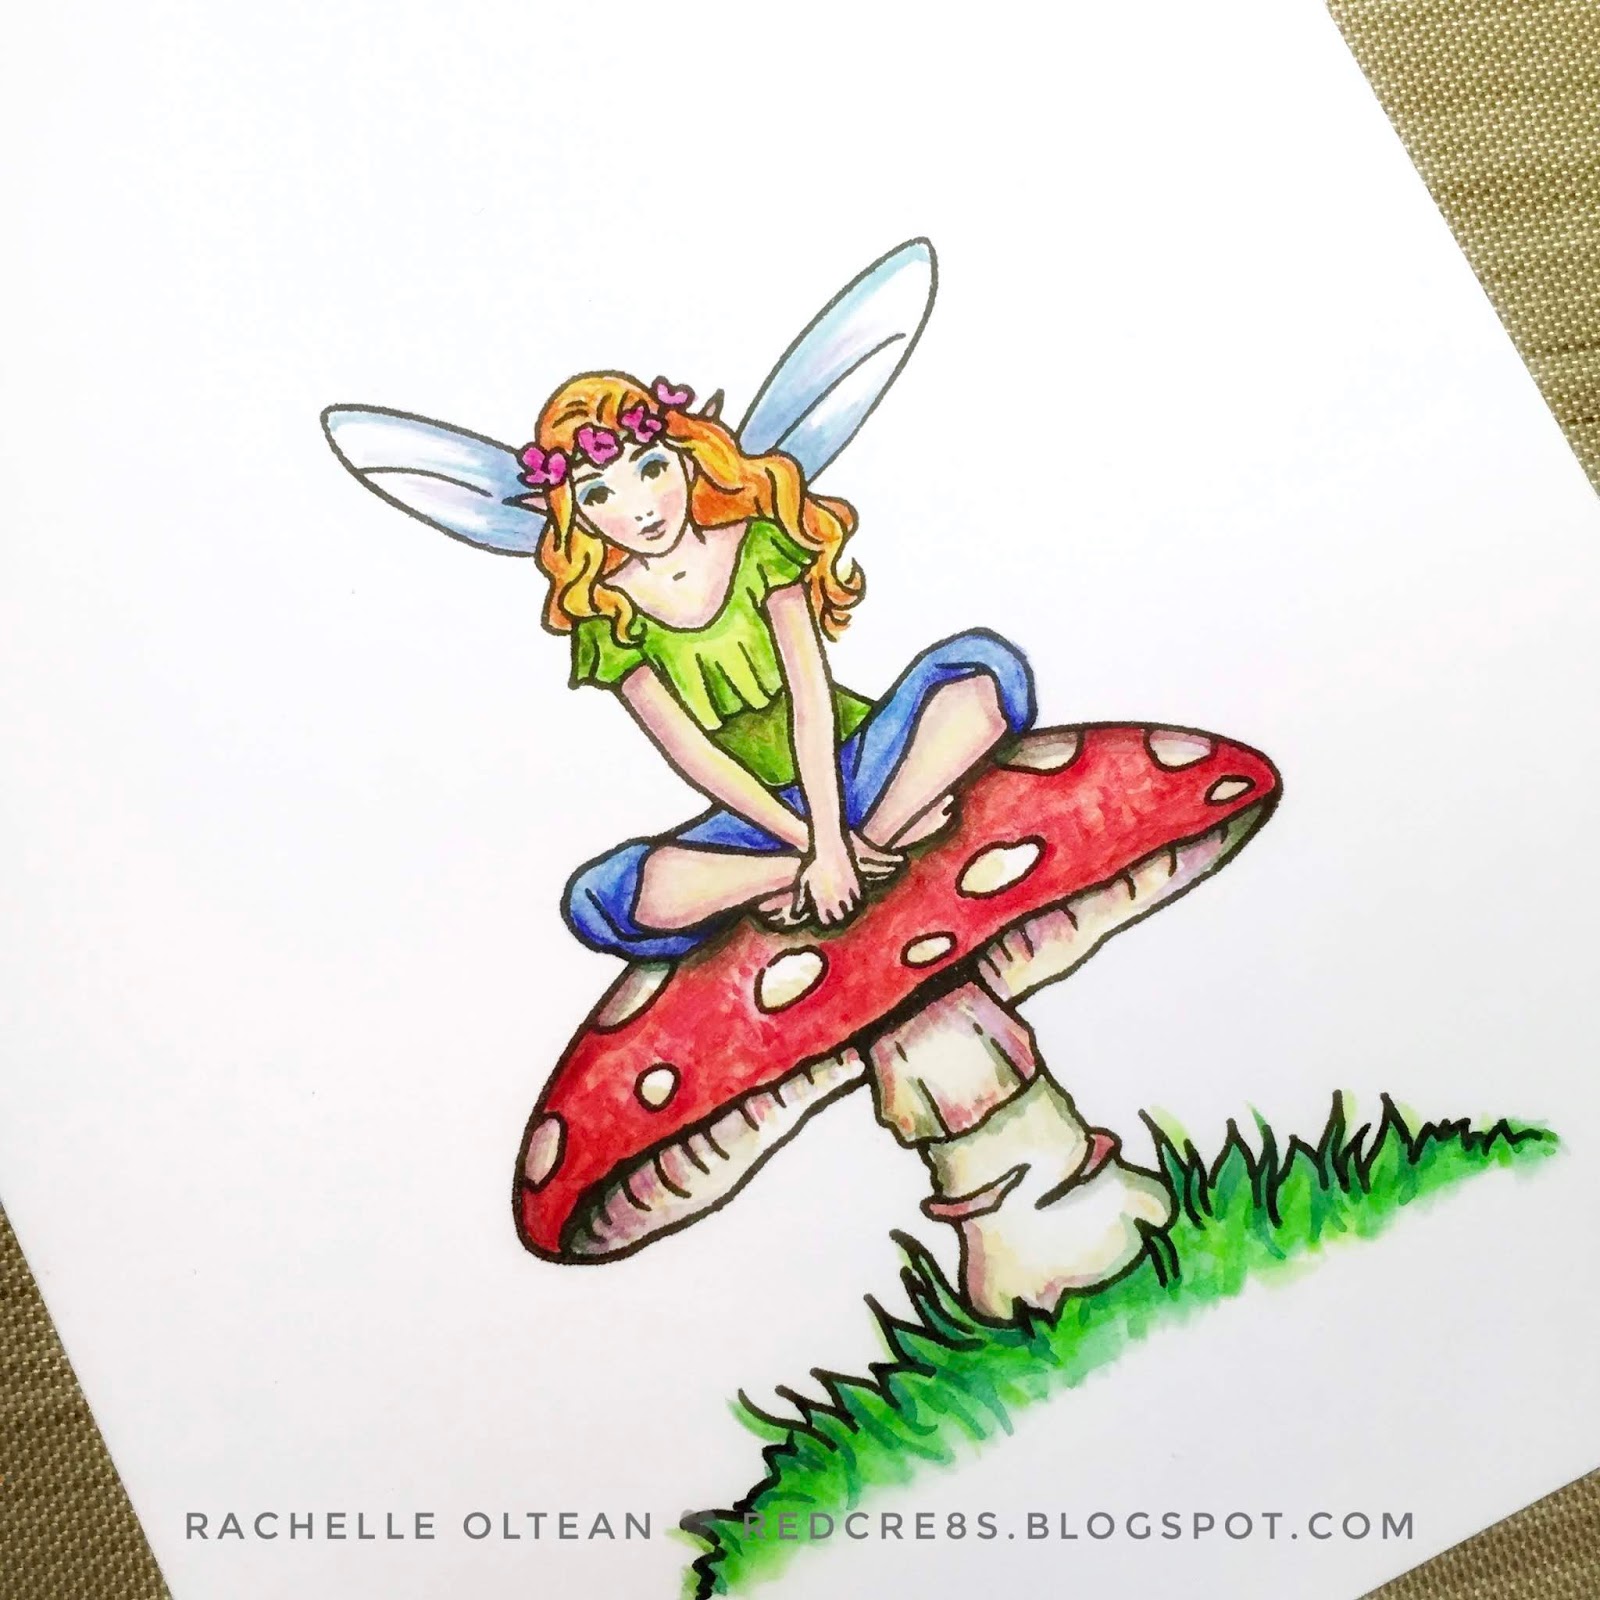
I haven't used this Hero Arts' MMH Kit (December 2018) for a while and pulled it out to create a vignette card with this beautiful fairy. 

First, I did a quick sketch of the basic layout/coloration.


The fairy was stamped on a piece of white card stock and also onto a 
large Post-It Note, which was then fussy cut and stuck over the card stock image.


I then determined the toad stool placement and used the MISTI to stamp it 
on top of the masked fairy image.


I removed the mask and the image was water colored and trimmed with a combination of partial die and fussy cutting. I left enough space at the bottom to add some additional grassy area since I wanted it to fill up the negative space in the scallop die cut.

I trimmed a 1" strip of gingham pattern paper, adhered it to the left edge of an A-2 top-folding card base and set it aside. Using the Pink Fresh "Inverted Scallop Circle Dies", a circle was cut off the right edge towards the bottom of a 3 5/8" x 5.5" panel of the same white card stock. I adhered the fairy image to the back of the scallop opening and backed it with craft foam to give the opening added dimension. 

I ink blended the gradated blue background (using Salty Ocean Distress Oxide Ink) onto white card stock and spattered it heavily with white pearlized paint. This really made the background shimmer behind the fairy. I adhered it to the card front right next to the gingham paper and then glued the die cut panel on top. I added a couple of additional pieces of foam tape behind the fairly itself to really pop the image off the card and lightly curled the wing tips up for even more depth.

After I prepped a piece of black card stock with my anti-static powder tool, the sentiment was heat embossed with white powder and die cut. I lightly blended the same blue ink onto a piece of vellum, die cut it and adhered it behind the sentiment strip as an accent shadow. I felt that the black strip on its own was a bit too harsh and that it needed just a bit of softening - the vellum really worked here. The sentiment was glued into place and trimmed to be flush with the right edge. I gave stamped images a light application with my Wink of Stella brush for a bit of shimmer to finish up the card.

Thanks for joining me today and I really appreciate all of your comments! : ) 

Additional challenge submissions:


Rachelle

Friday, May 24, 2019

Graduation Card | MFT Stamps - You're Super

Hello!

I couldn't wait to share this card, which was created for my niece who is graduating from high school. She is SUPER...class president, first-class athlete, outstanding student, beautiful girl and most importantly, a wonderful and kind person. I can't wait to see what her future holds! She looks exactly like this wonder-gal in MFT's "BB You're Super" Stamp Set!

I started off by blending background panels - two onto pale yellow card stock and the other onto a medium purple stock. Using Wild Honey Distress Oxide Ink, I blended color heavily in the center of one yellow piece and faded out to the edge of the panel. Then I very lightly blended color onto the other yellow panel - it's so light that you can barely see the ink. I then blended in reverse on the purple panel (heavy on the outside to light in the center) using Wilted Violet Oxide Ink. Each panel was sprayed with shimmer mist, blotted with a paper towel and flecked with multiple metallic watercolors. All three ink blended panels were die cut with the radiating rays fancy die from the Hero Arts MMH Kit July 2018; one additional panel of plain purple card stock was die cut, too.

To assemble the background die cut, I popped all of the loose interior pieces out onto separate pieces of paper so that I could put the puzzle back together again! I glued the inked purple panel to the extra die cut (to give it some dimension) and then this was glued onto the front of an A-2 top-folding card base. The heavily blended yellow pieces were glued back into the five openings along the top and bottom and the lightly blended pieces filled in the middle sections on either side. The yellow pieces fit back perfectly into the negative spaces of the purple frame. Using these complimentary colors,  together with the reverse blending values, really made this background POP! (Of course a heavy spattering of gold paint doesn't hurt!) The oval centers were glued/stacked together and backed with craft foam.

Super Girl was stamped, colored and die cut; three additional die cuts were glued/stacked behind the colored image. I wanted her to have a lot of dimension popping off of the card front. The sentiment was stamped, heat embossed and die cut using heavy weight black card stock. 

The oval was glued into the center and once it was secure, I aligned/glued the sentiment on top using a small plastic t-square to keep it level and then adhered my superhero into place. I die cut a few stars from my ink blended scraps using Lawn Fawn's Shadow Box Theater Add On Die Set. These stars worked perfectly to finish up the card and I loved this mix of the regular stars and mini outlines!

She looks like she could take on the world and I wish all of our graduates good luck and happiness!


This card is entered into the following challenges:


Thanks so much for spending some time with me today!
Rachelle

Friday, March 22, 2019

All Occasion Card | Hero Arts - MMH Kit December 2018


Hello!
I would like to share a card using the great images from the Hero Arts MMH December 2018 Kit. I needed to find something to work for my entry in the Color Throwdown Challenge #535 and these dandelions and lady bug fit the bill perfectly - red, yellow, soft green and white!

CTD535

Sometimes when I don’t have a clear plan for my layout, I will quickly stamp/die cut the main images and play with the placement until things come together. When I tried to make the dandelion bunch fill the bottom of the left corner, the stems weren’t long enough and the small leaves that came with the set weren’t quite large enough in proportion for the space. To lengthen the stems, I put all of the images into the MISTI side-by-side and then inked the images from the top down, leaving the very bottom of the stems uninked. This allowed me to extend the watercolor by about 2”and I finished the stems by drawing the outline with a fine-tip, permanent black marker. I die cut the images in a similar way by cutting within a 1/2" of the original stem base and finishing the rest by fussy cutting.


In addition, I drew some larger leaves with the permanent black marker (in the same style as the rest of the images) onto 100# white card stock, watercolored and fussy cut them. They blend with the other leaves perfectly! In fact, they really resemble the dandelions that are currently sprouting in my front yard!

A 4.25” x 5.5” piece of Lawn Fawn's "Daisy" Gotta Have Gingham Paper was glued onto the front of an A-2 top-folding card base. I die cut the rectangular frame twice from white card stock, glued it together and then die cut it again using MFT’s Stitched Oval STAX Die-Namics. I wanted the frame to create a window for the dandelion bunch and so I adhered a piece of craft foam to the back. I glued and/or popped the stems and leaves onto the gingham background. The die cut frame was glued into place on the front with one of the large leaves extending forward through the opening. The ladybug die cut was glued into place and a heat-embossed, die cut sentiment strip was added to the front. I finished the card with a few sequins from the Lipstick Sequin Mix from Lucy's Little Things and a little Wink of Stella.

Thanks for stopping by!
Rachelle