Thursday, May 30, 2019

Slimline Birthday Card | My Favorite Things - Love Bugs


Hey There!

I'm sharing my first slimline card with you today! After seeing all of the great slimline designs created by Nicky Meek at Nicky Noo Cards, I just had to try one! She does an amazing job creating her scenes with this long/skinny/tall card format. so please check out her blog for tons of slimline card examples.

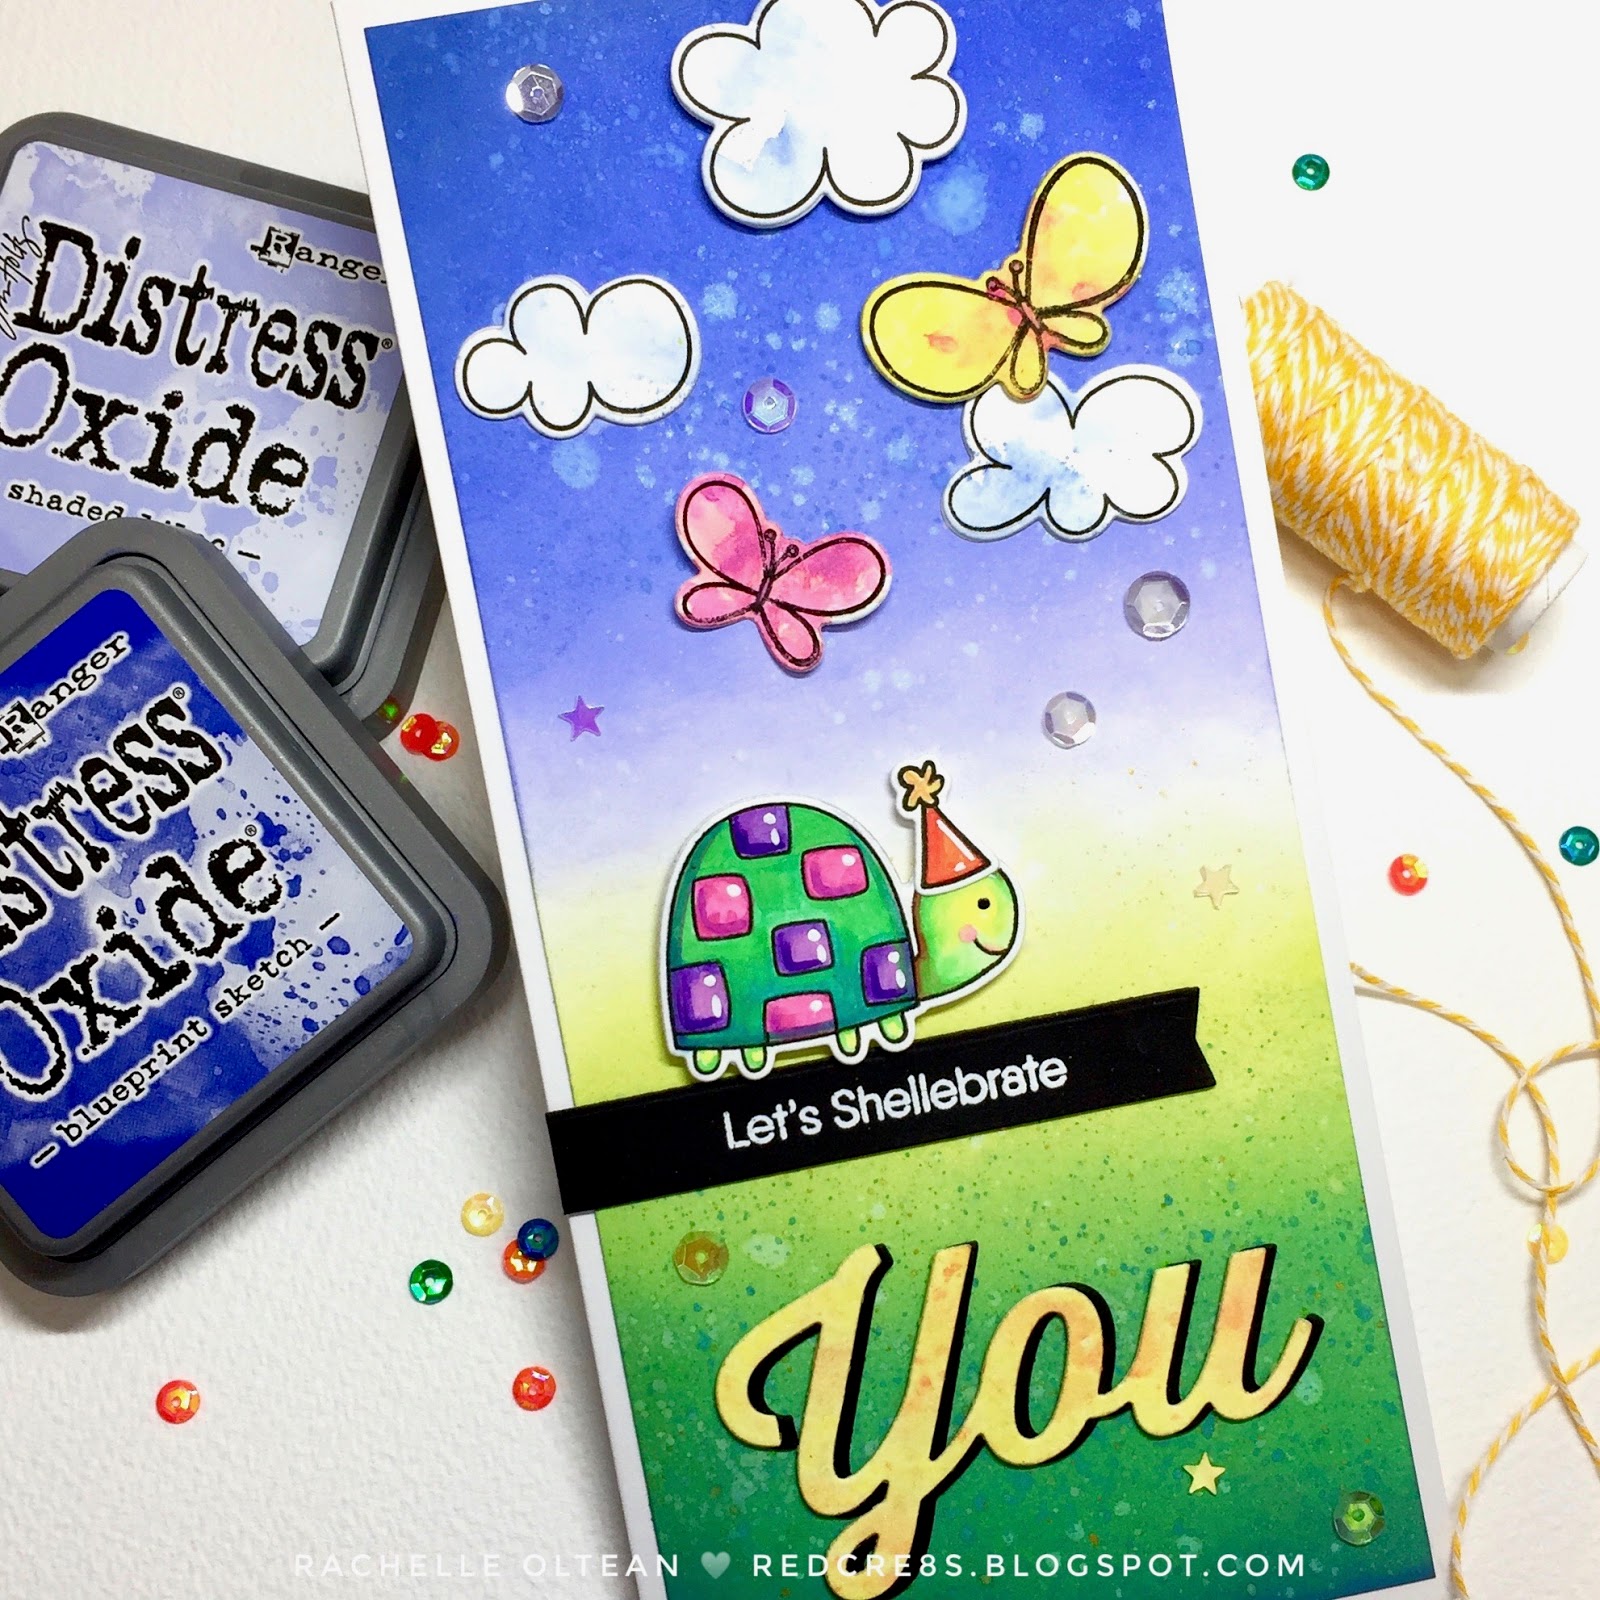
I blended Blueprint Sketch/Shaded Lilac Oxide Inks at the top of a 5' x 10" white card stock panel and Twisted Citron/Lucky Clover at the bottom, being sure to leave a very lightly blended strip where they met. This gives the impression of sky meeting grass but does not require a solid demarcation. The panel was spritzed with shimmer mist and I spattered darker greens/metallic water colors to give it some texture. This panel was trimmed down to 3.75" x 8.5" and mounted to a card base measuring 4" x 8.75". 

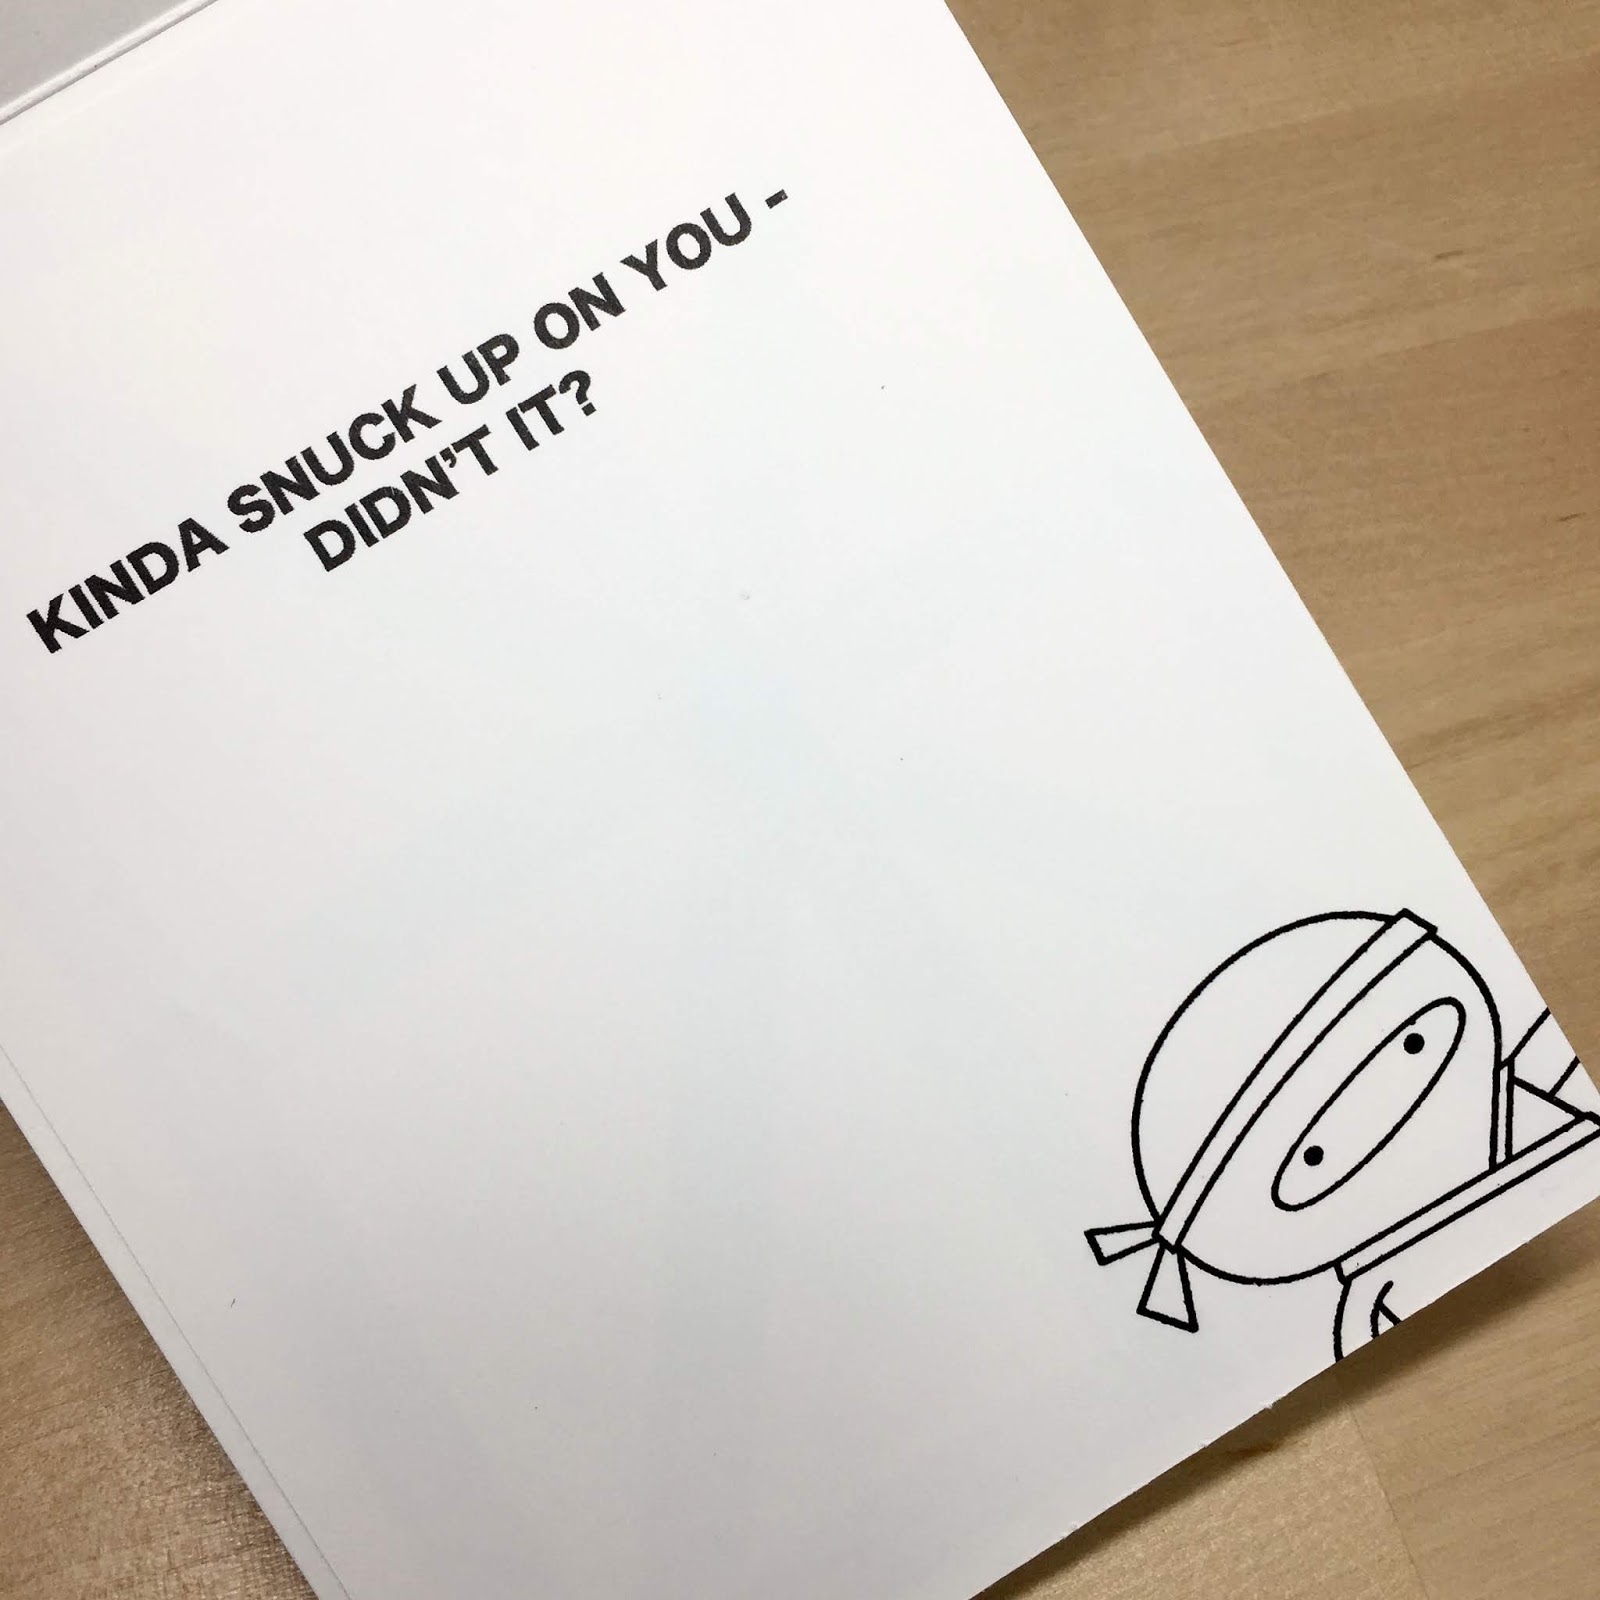
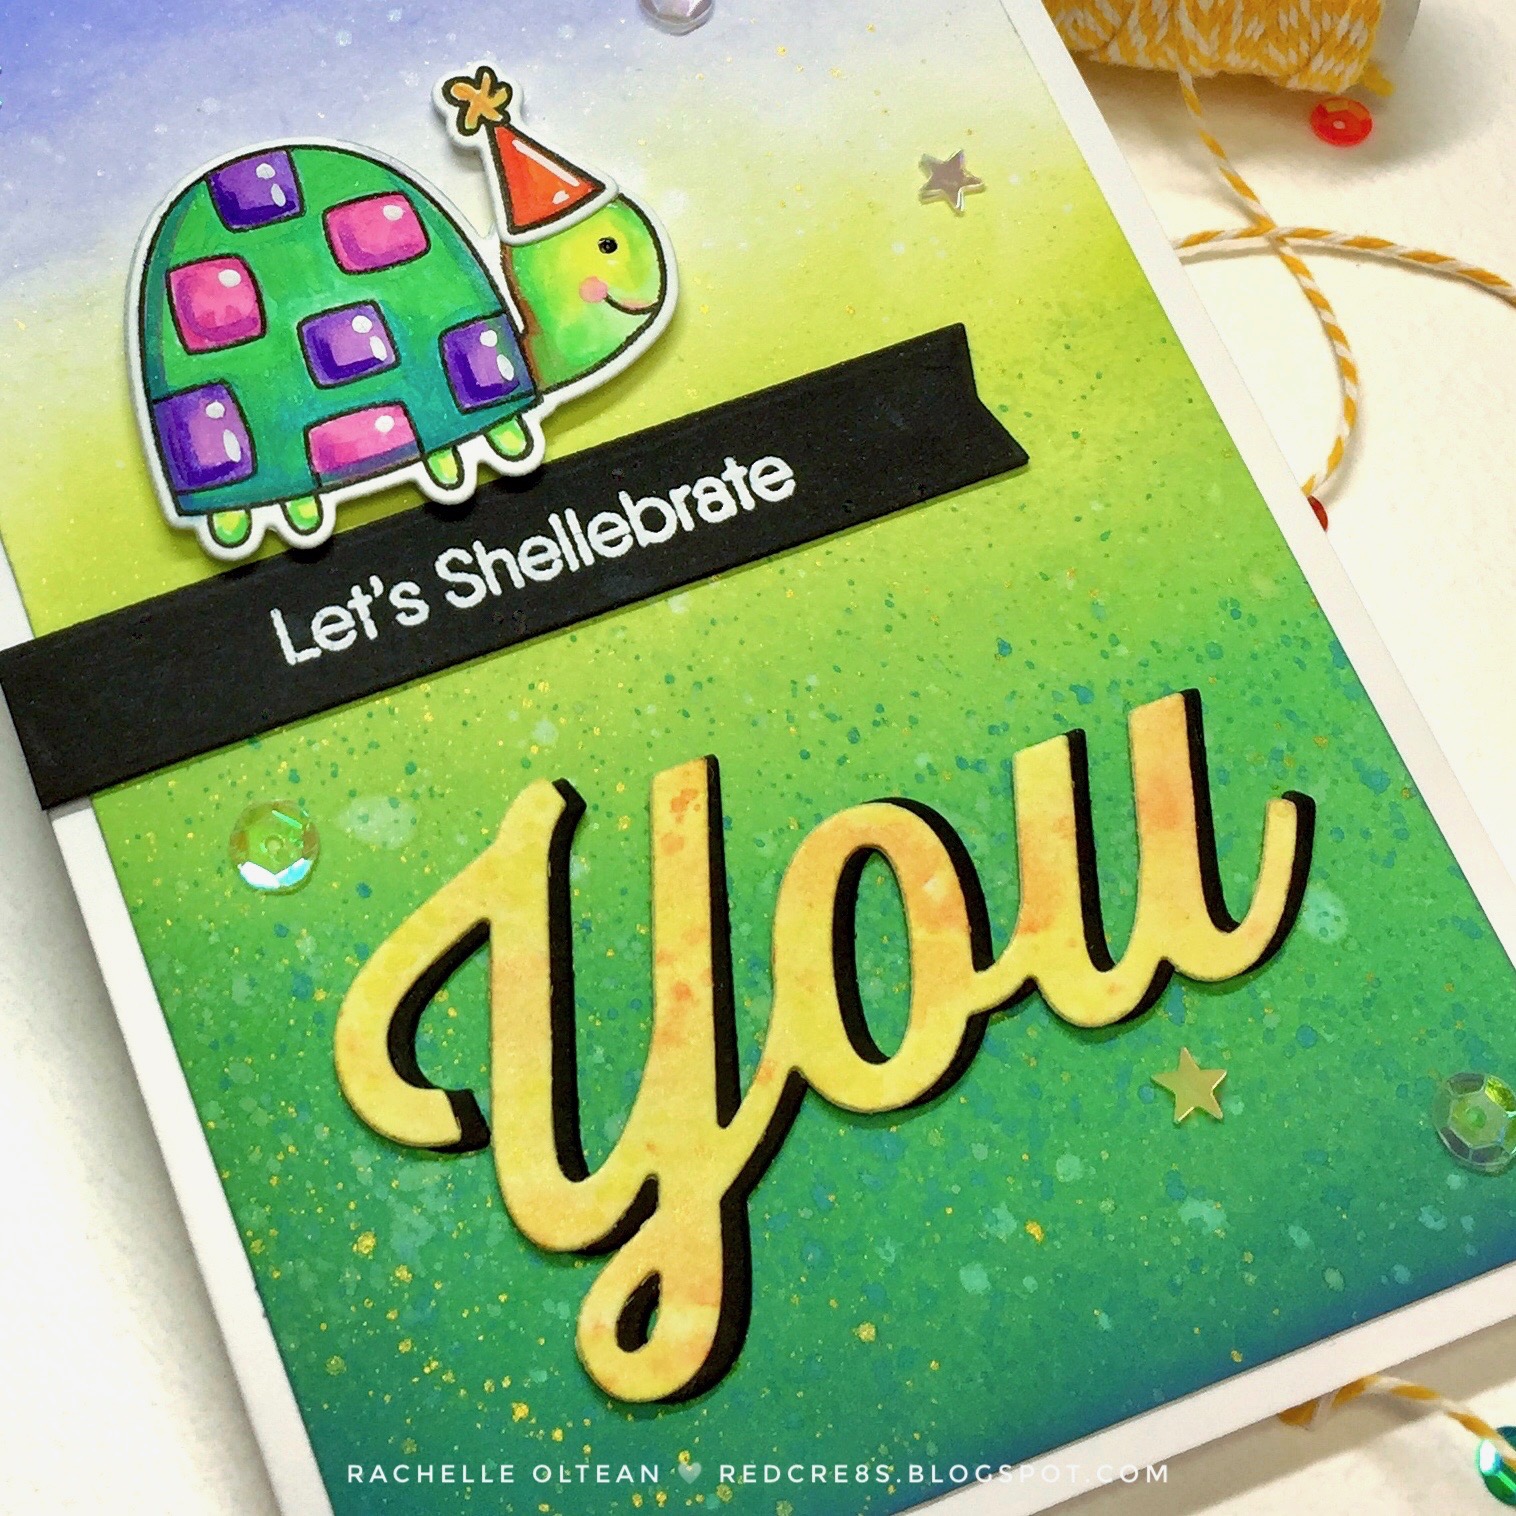
I stamped, colored and die cut the birthday turtle from the now-retired "Love Bugs" Stamp Set from My Favorite Things. It was glued/stacked onto 2 additional die cuts to give it added dimension and the little party hat die cut was glued into place. I loosely painted watercolor onto white card stock for the clouds and butterflies; once the paper was dry, I looked for the right spots on which to stamp the images. This ended up being a nice contrast in style to the detailed coloration on the turtle. The sentiment was stamped, heat embossed and die cut from a heavy-weight black card stock. Three die cuts of MFT's "You Trio Die-namics" were stacked/glued together from black card stock and a watercolored die cut was offset/glued to create the shadow effect. 

All of the die cuts were either glued and/or popped off the blended panel with foam tape and I added an assortment of sequins to finish the card. I really like this slimline format and will be using it again in the future!


This card is entered into the following challenges:


Thanks for joining me today!
Rachelle


Tuesday, May 28, 2019

Birthday Card | My Favorite Things - Bold Blossoms & Wish Die-namics | BBB Challenge - Triple Stamping


Hi There!

Sending out BIG Birthday Wishes from this week's challenge over at the Back To Basics Challenge Blog! To be honest, I had never tried the technique we are highlighting, Triple Layered Stamping, so I had to do a bit of research and figure how to make this work for me! I determined that I wanted to make the background the star of the show and decided to create my own patterned paper using MFT's Bold Blossom Stamp Set. This set is now retired but is still a real gem because of all the geometric flowers & circular shaped stamps. 

I started by taping a piece of 110# Neenah Solar White card stock to my cutting board with painter's tape. You can create this simple watercoloring on the Neenah paper because you don't use too much water. If you get this paper really wet, the fibers pill from the surface, but if you watch how much moisture you add, this is the perfect substrate for creating patterned paper. I quickly drew sketchy circles of different sizes/colors over the entire area with my Caran d'Ache Neocolor Artist's Crayons. There was nothing special to the layout - the space was just filled in randomly but I did try to make the circles of the same color similar in size. Using a medium-sized brush l loaded with water, I used a circular motion to activate the watercolor for each area of color I had applied. Each color was painted  separately and it only took a couple of seconds for each dot. I sprayed the entire surface liberally with shimmer mist, flecked it with metallic watercolor and dried it briefly with my heat gun. Using the Bold Blossoms Stamps, I went back into the circles to add geometric details to the pattern with distress oxide inks to match my color palette (Wilted Violet, Wild Honey, Picked Raspberry & Carved Pumpkin). It was so much FUN to fill in the blanks with the smaller dot stamps and I was really happy with the way the paper turned out! I only needed 1/4 of the sheet for this card so I have lots of this background left to use on other cards. This whole process only took 30 minutes from start to finish! 


I drew a quick sketch of the way I needed the triple cuts to work on a piece of scrap paper and used these measurements as my template. I cut my patterned paper to 5' x 3.75", drew my template on the back and cut out my pieces. This would have been a lot easier if I had small shaped die cuts in all of the sizes I needed but instead I had to cut everything out by hand with my X-acto knife and straight edge! Each cut area needed a 1/8" margin on the outside in order to frame it with the dark pink card stock, which created the triple "layered" stamping effect. Once each of the four pieces were cut to size and adhered to the pink card stock, they were glued (in correct order) to the front of a side-folding A-2 card base.

I applied Wilted Violet Distress Oxide Ink directly onto a piece of purple card stock, spritzed it lightly with shimmer mist and flecked it with my gold paint. I cut this paper four times using MFT's Wish Die-namics die and glued/stacked the images together for dimension. Each letter was backed with foam tape, adhered into place and gold watercolor was applied to the candle's flame to finish the card.


Thanks for joining me today - head on over to the BBB Challenge to see what other great ideas the design team has come up with for this triple stamping technique!

This card was also entered into the following challenges:


Rachelle

Friday, May 24, 2019

Graduation Card | MFT Stamps - You're Super

Hello!

I couldn't wait to share this card, which was created for my niece who is graduating from high school. She is SUPER...class president, first-class athlete, outstanding student, beautiful girl and most importantly, a wonderful and kind person. I can't wait to see what her future holds! She looks exactly like this wonder-gal in MFT's "BB You're Super" Stamp Set!

I started off by blending background panels - two onto pale yellow card stock and the other onto a medium purple stock. Using Wild Honey Distress Oxide Ink, I blended color heavily in the center of one yellow piece and faded out to the edge of the panel. Then I very lightly blended color onto the other yellow panel - it's so light that you can barely see the ink. I then blended in reverse on the purple panel (heavy on the outside to light in the center) using Wilted Violet Oxide Ink. Each panel was sprayed with shimmer mist, blotted with a paper towel and flecked with multiple metallic watercolors. All three ink blended panels were die cut with the radiating rays fancy die from the Hero Arts MMH Kit July 2018; one additional panel of plain purple card stock was die cut, too.

To assemble the background die cut, I popped all of the loose interior pieces out onto separate pieces of paper so that I could put the puzzle back together again! I glued the inked purple panel to the extra die cut (to give it some dimension) and then this was glued onto the front of an A-2 top-folding card base. The heavily blended yellow pieces were glued back into the five openings along the top and bottom and the lightly blended pieces filled in the middle sections on either side. The yellow pieces fit back perfectly into the negative spaces of the purple frame. Using these complimentary colors,  together with the reverse blending values, really made this background POP! (Of course a heavy spattering of gold paint doesn't hurt!) The oval centers were glued/stacked together and backed with craft foam.

Super Girl was stamped, colored and die cut; three additional die cuts were glued/stacked behind the colored image. I wanted her to have a lot of dimension popping off of the card front. The sentiment was stamped, heat embossed and die cut using heavy weight black card stock. 

The oval was glued into the center and once it was secure, I aligned/glued the sentiment on top using a small plastic t-square to keep it level and then adhered my superhero into place. I die cut a few stars from my ink blended scraps using Lawn Fawn's Shadow Box Theater Add On Die Set. These stars worked perfectly to finish up the card and I loved this mix of the regular stars and mini outlines!

She looks like she could take on the world and I wish all of our graduates good luck and happiness!


This card is entered into the following challenges:


Thanks so much for spending some time with me today!
Rachelle

Thursday, May 23, 2019

All Occasion | Happy Ninja Day - MFT Stamps - "Ninja-Mazing"


Hi-Ya!

I recently bought MFT's retired "Ninja-Mazing" stamp set and couldn't wait to start creating! This is an "all occasion/just because" card and you'll see why when I reveal the digital sentiment I designed for the inside sentiment! ; )

The bamboo background was created with a large older (15+ years!) SU stamp, which was daubed with several distress oxide greens and stamped onto a piece of 110# Neenah Solar White card stock. I sprayed the background with shimmer spray and flecked it with gold metallic water color. I die cut 2 panels (4.25" x 5.5") of card stock (one white and one bamboo green) with MFT's Elegant Rectangle STAX Dies, creating a frame for the background panel. These frames were glued together and then to the front of an A-2 top-folding card front. 

The little ninja was stamped, colored and die cut; I applied a light touch of WOS for some shine and added a bit of detail to his eyes with a black glaze pen. Two additional die cuts were glued/stacked behind the image for dimension. The action bubble/sentiment was stamped onto heavy vellum, heat set and die cut.


I prepped pieces of deep red and black card stock with my anti-static powder tool. The pagoda was stamped with VersaMark Ink using the MISTI, embossed with Lawn Fawn's White Embossing Powder and die cut. 

To create the "Happy Ninja Day" sentiment strip, I had to cut apart a couple of stamps and re-align them in the MISTI. This is really easy to do and gives you endless sentiment combinations! Once again, this was stamped, heat embossed and die cut. 


All of the die cuts were were either glued or popped into place with foam tape and a few sequins finished off the card front. Here is the digital sentiment that I created for the inside :) I then stamped another little ninja peeking out from the corner. I LOVE ♥ how the sentiments work together on this card! 


I have entered this card in the following challenges:


Thanks for stopping by today!
Rachelle  

Sunday, May 19, 2019

Birthday Card | Neat and Tangled - A Place To Start Challenge Blog - "Showcase Your Favorite Technique" - Pop-Up Shadow Box Card


Hey There!

Today I am sharing a pop-up shadow box card using the SUPER fun Neat and Tangled Stamp Set, “Jump for Joy!” 

This card measured 5” x 7” and so I started by blending a sky/cloud background on a piece of 110# white card stock of the same size using ‘Salty Ocean’ Distress Oxide Ink. I spritzed it with shimmer spray, blotted it with paper towel and put it under a heavy book to dry.

I cut one piece each of white and light blue card stock, 7” x 7”, and scored them both at .5”, 1”, 6” and 6.5”. A window was die cut from the light blue front panel using the largest size of MFT’s Elegant Rectangle Dies. The next smaller size die was used to cut another window from the center of a piece of medium blue card stock, 4.75” x 7”, and was glued behind the front window. 


To create the scene, the characters were stamped, colored and die cut. In order to give them a bit more stability, 2 additional white die cuts were glued and stacked behind the colored images. I die cut two strips of grass and lightly ink blended them for dimension. The lighter grass strip was glued directly to the back of the front window opening, the second strip to the bottom of the sky panel. A sun die cut was also glued directly to the same panel, which was then adhered to the back scored piece. The jump rope critters were glued to the front along with the embossed sentiment strip.

I wanted the little jumping bunny to be high in the sky so I suspended him using a small strip of acetate, which I taped to the inside scored fold used to create the shadow box. I used a strong liquid adhesive to glue both end tabs together and create the  pop-up mechanism when moved in and out. I just ♥ that cute bunny jumping way over the rope! The card was finished with a few flower sequins from Lucy's Little Things


I have entered this card in the following challenges:


Thanks for joining me today!
Rachelle